

Are you looking for a space-saving solution for your bedroom or guest room? Consider building a futon bunk bed ideas!
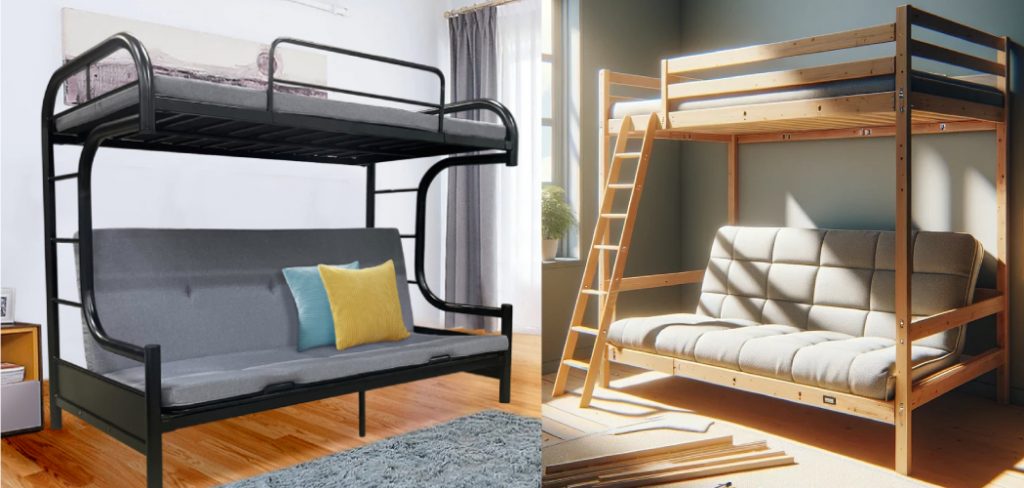
How to make a futon bunk bed is a rewarding DIY project that combines both functionality and creativity. It’s a versatile piece of furniture, perfect for saving space while providing a comfortable sleeping and seating solution. Whether you want to upgrade a room for your kids, maximize a studio apartment, or add flexibility to a guest room, a futon bunk bed offers convenience and style. By following a step-by-step process, gathering the right materials, and using the proper tools, you can create a sturdy and custom piece of furniture that fits your needs.
This guide will walk you through the essentials of constructing a futon bunk bed, from planning to assembly.
What Are the Benefits of a Futon Bunk Bed?
Before diving into the construction process, it’s essential to understand the various benefits of a futon bunk bed. Here are some reasons why you should consider making one:
- Space-saving: A futon bunk bed is an excellent space-saving solution for small bedrooms, guest rooms, or apartments. It combines two pieces of furniture – a bed and a sofa – into one, freeing up valuable floor space.
- Cost-effective: Building your futon bunk bed can be much more cost-effective than buying one from a furniture store. By using affordable materials and tools, you can save money while creating a functional and stylish piece of furniture.
- Customizable: DIY allows you to customize your futon bunk bed to fit your needs and preferences. You can choose the size, design, and materials according to your furniture or room decor.
- Multi-functional: A futon bunk bed serves multiple purposes – a sleeping space and a seating area. It’s perfect for hosting guests or accommodating different sleep arrangements for kids.
These are just a few benefits of a futon bunk bed. Now, let’s move on to the step-by-step process of making one.

What Will You Need?
To make a futon bunk bed, you will need the following materials and tools:
- Wood: The primary material you’ll need is wood for the bunk bed frame. You can choose from various types of wood, such as pine, oak, or plywood.
- Screws and Nails: These are essential for holding the frame together and ensuring its stability.
- Mattress: Depending on your preferences, you can use twin-sized or futon mattresses for the top and bottom bunks.
- Futon Hardware Kit: This kit includes all the necessary hardware to convert your futon into a bed. It typically contains hinges, screws, washers, and bolts.
- Power Drill: This tool will help you easily and quickly drive screws into the wood.
- Saw: You’ll need a saw to cut the wood according to your desired measurements.
- Safety Gear: As with any DIY project, it’s essential to wear safety gear such as goggles and gloves to protect yourself from potential injuries.
Now that you have all the necessary materials and tools let’s start building your futon bunk bed!
9 Easy Steps on How to Make a Futon Bunk Bed
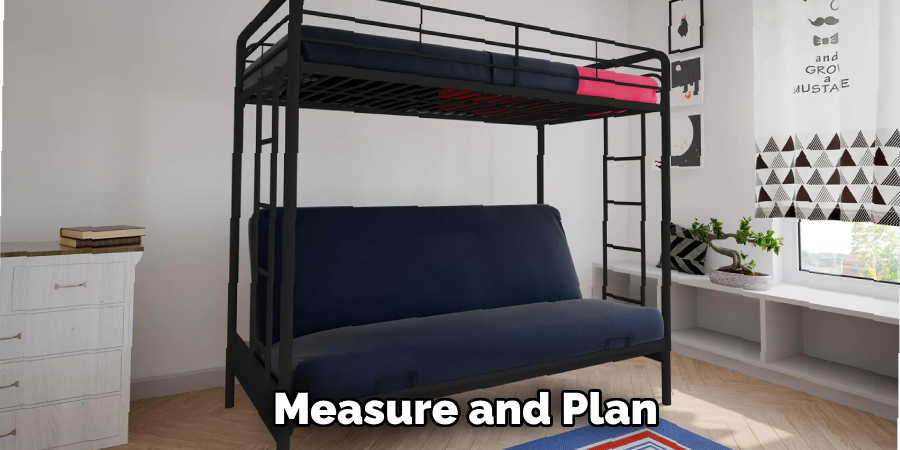
Step 1: Measure and Plan
Start by determining the dimensions of the futon bunk bed you want to build. Consider the available space in the room where the bed will be placed and ensure it fits comfortably without overcrowding the area. Measure the floor space and the room’s height to ensure sufficient clearance for the top bunk, keeping in mind the safety guideline of leaving at least 30 inches of headroom between the top of the mattress and the ceiling.
Decide whether you want a twin-over-twin configuration or if you’d like the bottom bunk to be larger, such as a full or queen-size futon. Once you’ve decided on the bed size, sketch out a detailed blueprint of the structure, noting the dimensions for the frame, support beams, and ladder placement. Accurate planning will help you determine exactly how much wood you’ll need and prevent unnecessary mistakes during the building process.
Step 2: Gather Materials and Tools
With your blueprint ready, it’s time to collect all the necessary materials and tools for the project. You’ll need sturdy wood for the frame, such as pine, oak, or birch, ensuring it can support the weight of the futon and occupants. Common materials include planks for the bed slats, support beams, and ladder, as well as screws, wood glue, and brackets for reinforcement.
For tools, gather essentials like a saw for cutting the wood, a drill for assembling the frame, a measuring tape, a level to ensure the bed is even, and sandpaper to smooth rough edges. You may also need a screwdriver, clamps, and a paintbrush if you plan to stain or paint the wood. Ensuring all materials and tools are ready before starting will streamline the building process and minimize interruptions.
Step 3: Cut and Prepare the Wood
With your materials and tools ready, the next step is to cut and prepare the wood according to your blueprint. Use your measuring tape to mark precise measurements on each piece of wood, ensuring accuracy for a snug and sturdy fit. Carefully cut the wood with a saw, following the marked lines to avoid mistakes. Once all pieces are cut, use sandpaper to smooth the edges and surfaces, removing any splinters or rough spots that could cause issues later. This preparation step is crucial for a professional-looking finish and ensures the wood pieces fit together seamlessly during assembly.
Step 4: Assemble the Frame
Begin assembling the frame by arranging the prepared wood pieces according to your blueprint. Start with the base structure, connecting the main beams or boards using screws and a screwdriver or a drill. Use clamps to hold the pieces in place as you work, ensuring they stay aligned. Check that all corners are square with a carpenter’s square before fully tightening the screws. This step is vital for creating a stable and balanced frame that supports the rest of the structure. As you proceed, double-check each connection for strength and alignment.
Step 5: Add Reinforcements
Once the frame is assembled, reinforce key joints and connections for stability. Use brackets, additional screws, or wood glue to secure areas that will bear significant weight or stress. If using brackets, position them at appropriate angles and attach them firmly with screws. Reinforcing the frame increases its durability and ensures it can withstand regular use without compromising its structural integrity. Scrutinize the entire frame after adding reinforcements to confirm everything is secure and aligned correctly.
Step 6: Attach the Base or Surface
With the frame reinforced, it’s time to attach the base or surface to complete the structure. Depending on your project, this could be a solid piece of wood, plywood, or another material. Align the base carefully with the frame, ensuring no gaps or misalignments. Secure the base to the frame using screws, nails, or adhesive, depending on the material and the tools you are using. Fasten each corner first, then proceed along the edges for an even and stable attachment. After securing the base, check for any uneven edges and sand them down if necessary for a smooth finish.
Step 7: Finishing and Final Touches

Once the base is securely attached, it’s time to focus on the finishing touches. Start by filling any gaps, screw holes, or imperfections with wood filler or an appropriate material. Allow the filler to dry completely before lightly sanding the entire surface for a smooth, polished look. If desired, apply a coat of paint, stain, or varnish to protect the structure and enhance its appearance. Ensure adequate drying time between coats, following the manufacturer’s recommendations. Finally, inspect the finished piece thoroughly to ensure everything is secure and aligns with your project goals.
Step 8: Assemble Additional Components
If your project includes additional components or attachments, it is time to install them. For example, if you add shelves, brackets, hinges, or decorative elements, carefully measure and mark their positions. Use the appropriate tools and fasteners, such as screws, nails, or glue, to secure these components in place. Double-check alignment and stability to ensure the functionality and aesthetic of the final structure.
Step 9: Final Inspection and Maintenance
Once all components are assembled and the finish has dried, conduct a thorough final inspection of your project. Check for loose parts, uneven surfaces, or areas needing touch-ups. Ensure that all joints and attachments are secure and the structure stable. Additionally, consider creating a maintenance plan to keep your project in good condition over time. Regular cleaning, reapplying finishes, or tightening fasteners can prolong the life and functionality of your work.
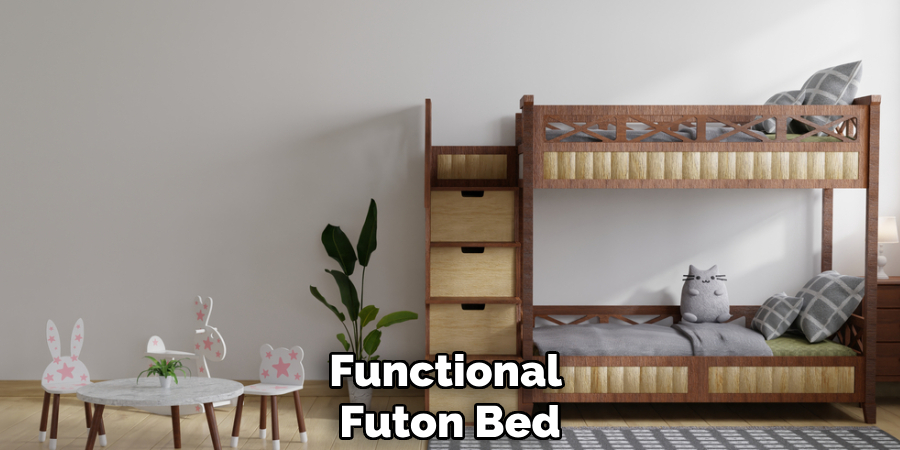
By following these steps and taking time during each stage, you can build a sturdy and functional futon bed.
Conclusion
How to make a futon bunk bed requires patience, precision, and attention to detail. You can create a durable and multifunctional piece of furniture by carefully following the outlined steps, from gathering materials and tools to completing the final inspection and maintenance.
Take your time at each stage, ensuring accurate measurements, joints are secure, and finishes are properly applied. Not only will this process result in a functional and attractive futon bunk bed, but it will also provide you with the satisfaction of building something with your hands.
With proper care and maintenance, your finished product will serve you well for years.
Huston Douthit is a distinguished figure in the world of furniture design, with a decade of expertise creating innovative and sustainable furniture solutions. His professional focus lies in merging traditional craftsmanship with modern manufacturing techniques, fostering designs that are both practical and environmentally conscious. As the author of Fruniturix, Huston delves into the art and science of furniture-making, inspiring artisans and industry professionals alike.
Education
- RMIT University (Melbourne, Australia)
Associate Degree in Design (Furniture)- Focus on sustainable design, industry-driven projects, and practical craftsmanship.
- Gained hands-on experience with traditional and digital manufacturing tools, such as CAD and CNC software.
- Nottingham Trent University (United Kingdom)
Bachelor’s in Furniture and Product Design (Honors)- Specialized in product design with a focus on blending creativity with production techniques.
- Participated in industry projects, working with companies like John Lewis and Vitsoe to gain real-world insights.
Publications and Impact
In Fruniturix, Huston shares his insights on furniture design processes, materials, and strategies for efficient production. His writing bridges the gap between artisan knowledge and modern industry needs, making it a must-read for both budding designers and seasoned professionals.