

Building a single bed frame out of wood is a rewarding DIY project that allows you to customize your furniture while saving money. Whether you’re a seasoned craftsman or new to woodworking, this guide will provide step-by-step instructions on how to make a single bed frame out of wood to help you create a sturdy and stylish bed frame.
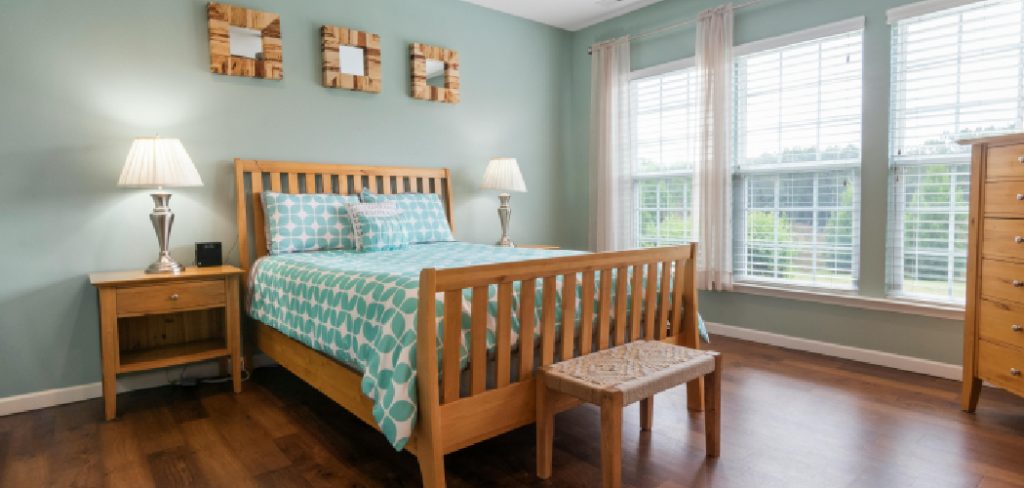
With the right tools, materials, and a bit of patience, you can craft a functional piece of furniture that adds both practicality and aesthetic appeal to any bedroom.
Why Choose Wood for a Bed Frame?
Wood is a versatile and durable material that has been used in furniture making for centuries. It offers numerous benefits when it comes to building a bed frame, including:
Strength and Durability:
Wood is known for its strength and resilience, making it a suitable material for constructing sturdy bed frames that can withstand weight and movement. Additionally, with proper care and maintenance, a wood bed frame can last for many years.
Customization:
One of the biggest advantages of building a bed frame out of wood is the ability to customize it according to your preferences. With a variety of wood types, finishes, and design options available, you can create a unique and personalized bed frame that fits your style and space.
Cost-Effective:
Compared to metal or upholstered bed frames, building one out of wood can be more cost-effective. Wood is readily available at hardware stores and lumberyards at affordable prices, making it an ideal choice for those on a budget.
Materials You’ll Need
To make a single bed frame out of wood, you’ll need the following materials:
- 2×4 Lumber
- 1×6 Lumber
- Wood Screws
- Drill
- Saw (Circular or Miter)
- Measuring Tape
- Sandpaper
- Wood Stain or Paint (Optional)
8 Step-by-step Guides on How to Make a Single Bed Frame Out of Wood
Step 1: Measure and Cut the Lumber
Start by using your measuring tape to determine the dimensions of the bed frame. A standard single bed frame typically measures 39 inches wide by 75 inches long, but you can adjust these measurements according to your mattress size. Once you have the dimensions, mark the 2×4 and 1×6 lumber accordingly.
For the bed frame, you’ll need pieces for the side rails, headboard, footboard, and support slats. Use a circular or miter saw to carefully cut the wood to the required lengths. Make sure your cuts are precise to ensure the frame assembles correctly and sturdily. After cutting, smooth the edges with sandpaper to avoid splinters and create a neat finish.

Step 2: Assemble the Side Rails
Take the 2×4 lumber pieces cut for the side rails and lay them flat on a clean work surface. These will form the long sides of the bed frame. To add extra stability, attach an additional strip of 1×2 wood along the inner side of each side rail—this will act as a ledge to support the slats. Secure the 1×2 strips to the 2x4s using wood screws and a drill, ensuring they are straight and evenly aligned.
Once the ledges are installed, check the side rails for any rough edges and sand them down if necessary. The side rails should now be sturdy and ready to connect to the headboard and footboard in the next steps.
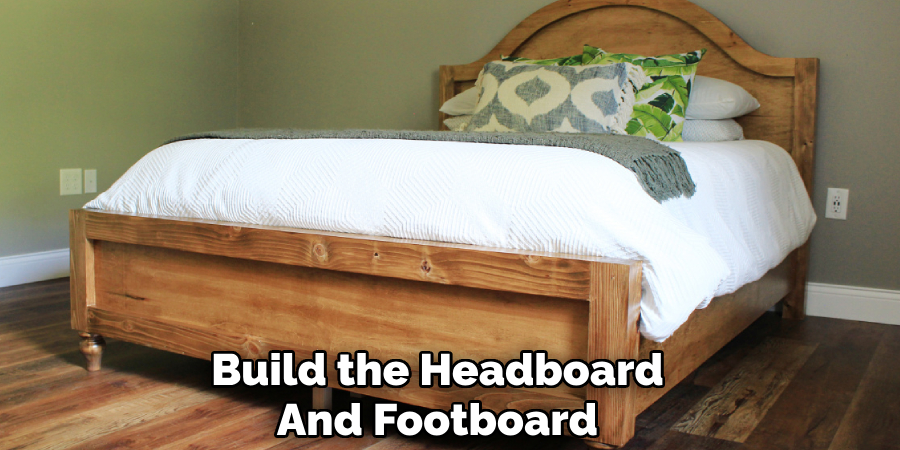
Step 3: Build the Headboard and Footboard
The headboard and footboard are essential components of a bed frame as they provide support and stability. Using the pre-cut 2×4 lumber, assemble them by connecting the top and bottom pieces with two vertical pieces in between. Use wood screws to secure all joints and make sure they are straight and sturdy.
To add an eye-catching design element, you can also use a jigsaw to cut out decorative shapes or patterns on the headboard and footboard. This step is optional but adds a unique touch to your bed frame.
Step 4: Connect the Side Rails to the Headboard and Footboard
Now that you have the side rails, headboard and footboard ready, it’s time to connect them together. Place the headboard and footboard on their sides, with the inner facing inward. Then, attach the side rails by aligning them with the ledges on the inside of the headboard and footboard. Secure them in place using wood screws.
Once all four sides are connected, flip the frame over, ensuring everything is tightly screwed in and sturdy.
Step 5: Install Support Slats
Support slats are crucial for evenly distributing weight on your bed frame and providing support for your mattress. Cut several pieces of 2×4 lumber to fit snugly between each side rail. Lay them across the ledges, leaving an equal distance between each one.
To ensure the slats stay in place, you can attach them to the frame using wood screws. This step is optional but recommended for added stability and support.
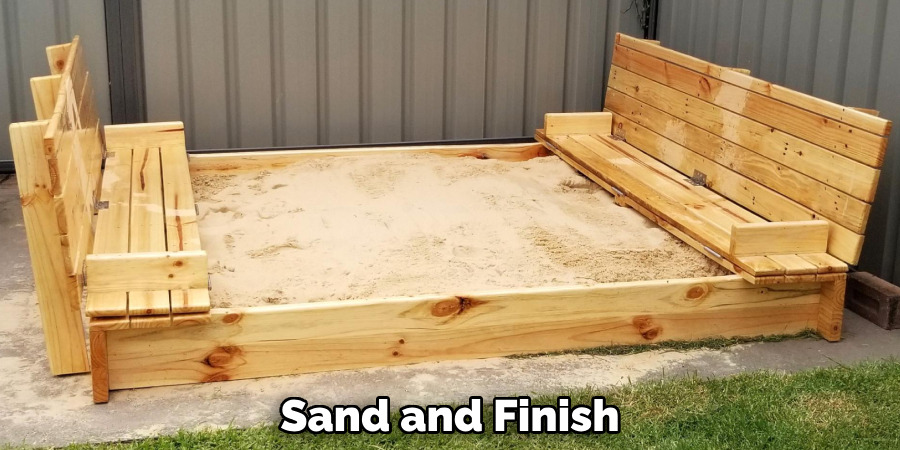
Step 6: Sand and Finish
With the bed frame assembled, use sandpaper to smooth out any rough edges or surfaces. Depending on your preference, you can also apply a coat of wood stain or paint to protect the wood and add a personal touch to your bed frame’s appearance.
It’s best to let the bed frame dry completely before moving on to the final step.
Step 7: Add Legs (Optional)
If you prefer having your bed off the ground, you can add legs to your bed frame. Use 4×4 lumber cut to your desired length and screw them onto the corners of the frame. Make sure they are evenly attached and sturdy enough to support the weight of the frame and mattress.
Otherwise, you can place the bed frame directly on the floor. The choice is yours!
Step 8: Attach a Headboard
Attaching the headboard is an important step to complete the look and functionality of your bed frame. Start by positioning the headboard upright at the head of the frame. Align it with the frame to ensure it is centered and level. Using a drill and wood screws, secure the headboard to the side rails and the back end of the bed frame. For added stability, you can insert additional screws into the vertical posts of the headboard where they meet the frame.
If you have chosen to create a decorative design on the headboard, ensure that any fragile areas are handled carefully during assembly. Double-check that the headboard is firmly attached and does not wobble before proceeding to the next steps on how to make a single bed frame out of wood. Looking for single-bed ideas? Consider options like minimalist designs, loft beds, or storage solutions to maximize space in smaller rooms.
Additional Tips
- If you want a taller bed frame, you can add extra pieces of 2×4 lumber to the legs or use longer legs when attaching them in step 7.
- You can also adjust the height and width of the headboard and footboard according to your personal preference. Just make sure they are still compatible with the size of your mattress.
- To customize the look of your bed frame further, you can paint or stain it after assembling. You can also add embellishments such as knobs or decorative accents for a more personalized touch.
- For added durability, consider adding bracing or diagonal supports between the side rails, aeadboard and footboard.
- If you plan on moving your bed frequently, make sure to use sturdy screws and joints to prevent any damage during transportation.
Frequently Asked Questions
Q: How Long Will It Take to Complete This Project?
A: The time it takes to make a single bed frame out of wood will depend on you and your skill level. For beginners, the process can take anywhere from 4-6 hours, while more experienced individuals may finish in 2-3 hours.
Q: What Type of Wood Should I Use for My Bed Frame?
A: The recommended type of wood for a bed frame is pine or oak as they are durable and readily available at most hardware stores and lumberyards. However, you can use any type of wood that fits within your budget and desired look.
Q: Do I Need Any Special Tools to Make a Single Bed Frame Out of Wood?
A: While having power tools such as a circular saw and drill will make the project easier and faster, they are not necessary. You can complete this project with basic hand tools such as a hand saw, hammer, and screwdriver.
Q: Can I Customize the Dimensions of the Bed Frame?
A: Yes, you can adjust the measurements to fit your mattress size and desired bed height. Keep in mind that altering the dimensions may require you to cut different lengths of wood for the frame and support slats.

Conclusion
Making a single bed frame out of wood is a fun and rewarding DIY project that anyone can do. By following these simple steps on how to make a single bed frame out of wood and using readily available materials, you can create a sturdy and stylish bed frame that will last for years to come.
Whether you choose to add legs or leave them low to the ground, your finished bed frame will provide a comfortable and stable foundation for a good night’s sleep. So gather your tools and materials and get ready to enjoy your new handmade bed frame! Single beds ideas for small rooms focus on maximizing space while maintaining comfort and style, offering practical solutions for any home. Happy building!
Huston Douthit is a distinguished figure in the world of furniture design, with a decade of expertise creating innovative and sustainable furniture solutions. His professional focus lies in merging traditional craftsmanship with modern manufacturing techniques, fostering designs that are both practical and environmentally conscious. As the author of Fruniturix, Huston delves into the art and science of furniture-making, inspiring artisans and industry professionals alike.
Education
- RMIT University (Melbourne, Australia)
Associate Degree in Design (Furniture)- Focus on sustainable design, industry-driven projects, and practical craftsmanship.
- Gained hands-on experience with traditional and digital manufacturing tools, such as CAD and CNC software.
- Nottingham Trent University (United Kingdom)
Bachelor’s in Furniture and Product Design (Honors)- Specialized in product design with a focus on blending creativity with production techniques.
- Participated in industry projects, working with companies like John Lewis and Vitsoe to gain real-world insights.
Publications and Impact
In Fruniturix, Huston shares his insights on furniture design processes, materials, and strategies for efficient production. His writing bridges the gap between artisan knowledge and modern industry needs, making it a must-read for both budding designers and seasoned professionals.