

Are you thinking of restoring an old piece of antique furniture? Maybe you inherited a family heirloom or stumbled upon a treasure at a garage sale.
Restoring antique furniture in modern home is a rewarding process that brings timeless pieces back to their former glory while preserving their historical and sentimental value. Proper restoration requires patience, skill, and attention to detail, whether it’s a cherished family heirloom or a vintage find from a flea market. This guide on how to restore antique furniture will walk you through the essential steps to restore antique furniture, from assessing its condition to selecting the right materials and techniques.
By approaching the process carefully and respectfully, you can enhance the beauty and integrity of these treasures, ensuring they continue to be appreciated for generations to come.
What Will You Need?
If you are interested in restoring antique furniture, there are a few things you will need to have on hand to get started.
- Basic Tools: While the specific tools needed may vary depending on the project, having a basic set of tools such as chisels, sandpaper, and clamps is essential for restoration work.
- Cleaning Supplies: Before starting the restoration process, it’s essential to clean the piece thoroughly. Cleaning supplies like wood cleaner, mineral spirits, and steel wool can help with this step.
- Materials for Repair: Depending on the condition of the furniture, you may need materials like wood filler or glue to fix any damaged areas.
- Protective Gear: Restoring furniture can involve working with potentially hazardous materials and tools, so it’s important to have protective gear such as gloves, goggles, and masks on hand.
- Safety Equipment: For any restoration project, it is important to have fire extinguishers and first aid kits readily available in addition to personal protective gear.
10 Easy Steps on How to Restore Antique Furniture
Step 1: Inspect the Furniture
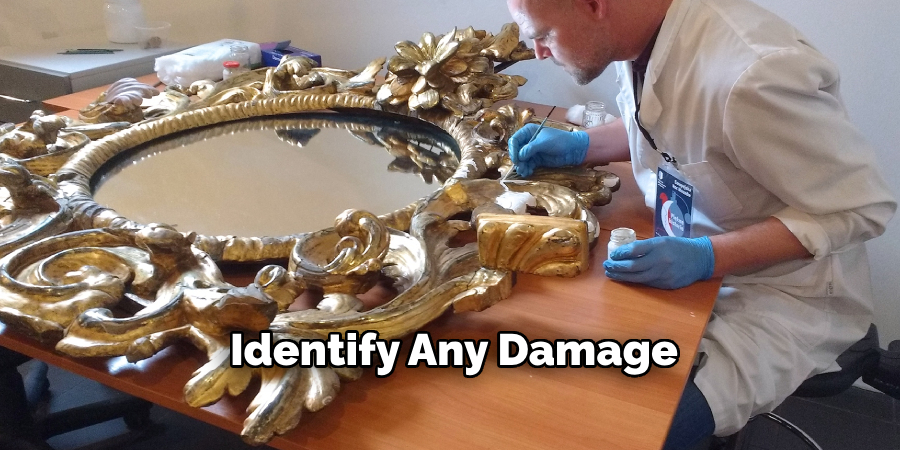
Carefully examine the antique furniture to assess its condition and identify any damage or areas requiring attention. Look for scratches, cracks, loose joints, or missing pieces. Note any signs of wood rot, insect infestation, or water damage, as these issues may require specialized treatment. Document your findings and decide whether any repairs or replacements are necessary before moving forward with the restoration process. This initial inspection is crucial for planning the steps and ensuring the piece is structurally sound.
Step 2: Clean the Surface
Cleaning the surface is an essential step to prepare the piece for restoration. Start by gently removing loose dirt and debris using a soft brush or a microfiber cloth. For more stubborn grime, use a mild soap mixed with warm water and a soft sponge or cloth to clean the surface. Avoid soaking the material, as excessive moisture can cause damage, especially to wood. If dealing with delicate finishes, test a small, inconspicuous area first to ensure the cleaning solution does not cause harm. Once clean, allow the piece to dry completely before proceeding to the next step.
Step 3: Remove Old Finish
To remove the old finish, choose the appropriate method based on the type of finish and material you are working with. Chemical strippers can be effective for tough finishes, but ensure you use them in a well-ventilated area while wearing gloves and protective eyewear. Alternatively, sandpaper or a sanding block can manually strip the finish, starting with coarse grit to remove the bulk of the material and gradually progressing to finer grit for a smoother surface. Always sand in the direction of the grain to avoid scratches. After the finish is removed, wipe down the surface with a clean, damp cloth to eliminate any dust or residue, preparing it for the next stage of your project.
Step 4: Repair Any Damages
Once the surface is clean and free of the old finish, scrutinize it for any damage such as cracks, dents, or gouges. Use wood filler or putty to fill in small imperfections, applying it with a putty knife and smoothing it out evenly. Consider using wood glue or replacing damaged sections with matching materials for larger cracks or structural issues. Allow all repairs to dry completely, and then sand the areas lightly to ensure they blend seamlessly with the rest of the surface. Properly repairing any damages is crucial for achieving a smooth and professional result in the final stages of your project.
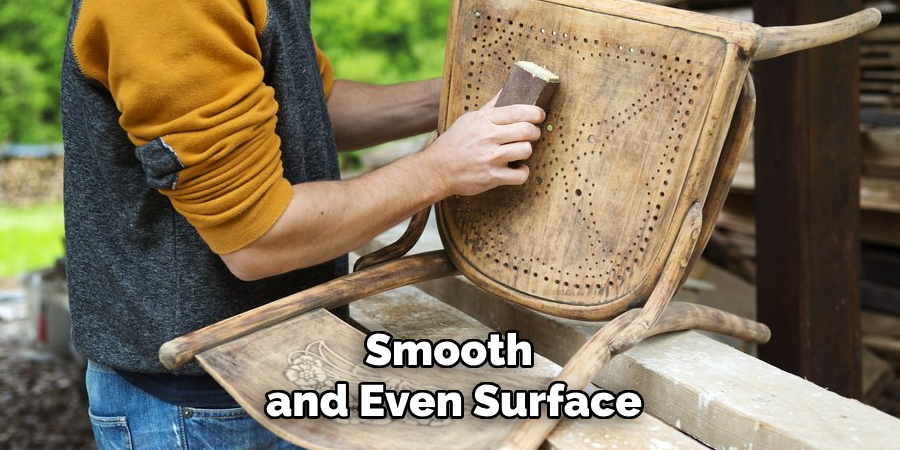
Step 5: Sand the Surface
Sanding is vital to ensure a smooth and even surface for your project. Begin by selecting the appropriate sandpaper grit, starting with a coarser grit such as 80 or 120 to remove any uneven areas or excess filler. Gradually transition to finer grits, like 220, for a polished finish. Always sand in the direction of the wood grain to avoid scratches and marks. Use a sanding block for flat surfaces or a sponge for intricate details and curved areas. If using an electric sander, keep the tool moving steadily to prevent creating dips.
Step 6: Apply Wood Stain or Paint
Once the surface is smoothly sanded, it’s time to apply wood stain or paint to enhance and protect the wood. Select a stain or paint that complements your project and suits your desired finish. For stain application, use a clean cloth or a brush to apply a thin coat evenly, working along the grain of the wood. Wipe any excess stain with a dry cloth to achieve an even tone. If painting, use a high-quality brush or roller to apply a primer first, followed by the desired paint color in smooth, even strokes. Allow each coat to dry completely before adding additional layers to achieve the desired depth or coverage.
Step 7: Protect the Surface
Applying a protective coating is essential to ensure the longevity and durability of your finished piece. Depending on the project, you can choose from polyurethane, lacquer, or furniture wax options. Use a clean brush or lint-free cloth to apply the protective finish evenly, following the wood grain for best results. Allow the coating to dry completely before adding additional layers, ensuring adequate ventilation.
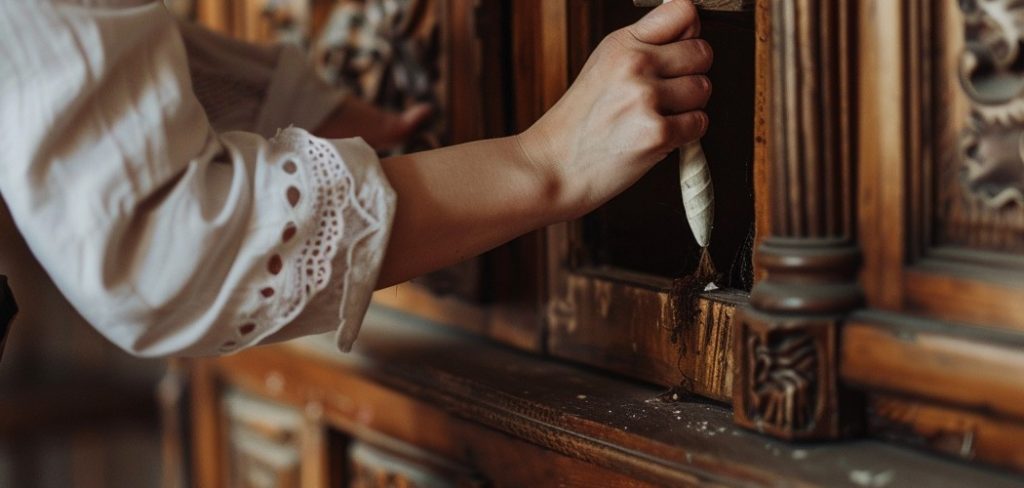
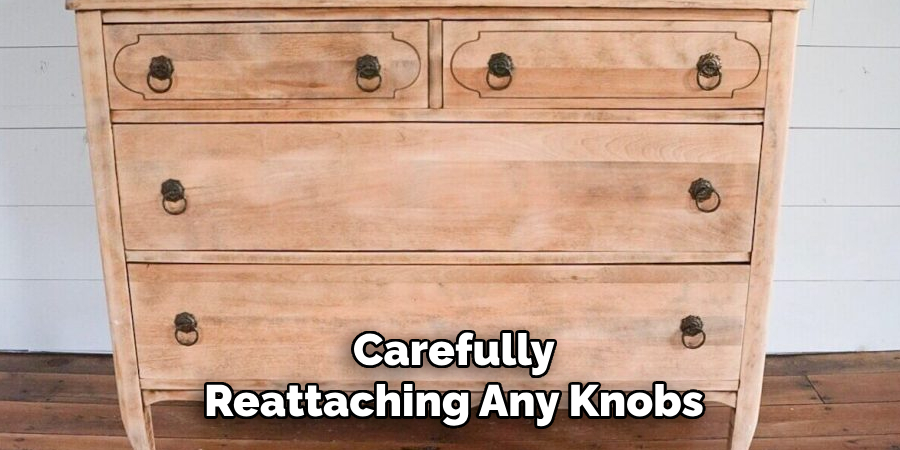
Step 8: Replace Hardware
Once the protective coating has dried completely, replacing the hardware is time-consuming. Begin by carefully reattaching any knobs, handles, or hinges to your piece using the original screws or any new hardware you have selected. Ensure that each component is aligned properly to ensure smooth operation and a polished appearance. If needed, tighten screws securely, but avoid over-tightening as this can strip the threads or damage the wood. Taking the time to replace or upgrade hardware can significantly enhance your project’s overall look and functionality, giving it a fresh and updated feel.
Step 9: Reassemble the Furniture
Begin reassembling your furniture by carefully putting each part back together in the correct order. Refer to any notes or photos you took during disassembly to ensure accuracy. Double-check the alignment of joints and components as you work to avoid uneven assembly. Attach each piece securely, tightening screws or fasteners as needed without overdoing it. This step not only restores the functionality of your furniture but also showcases the care and effort invested in its revitalization.
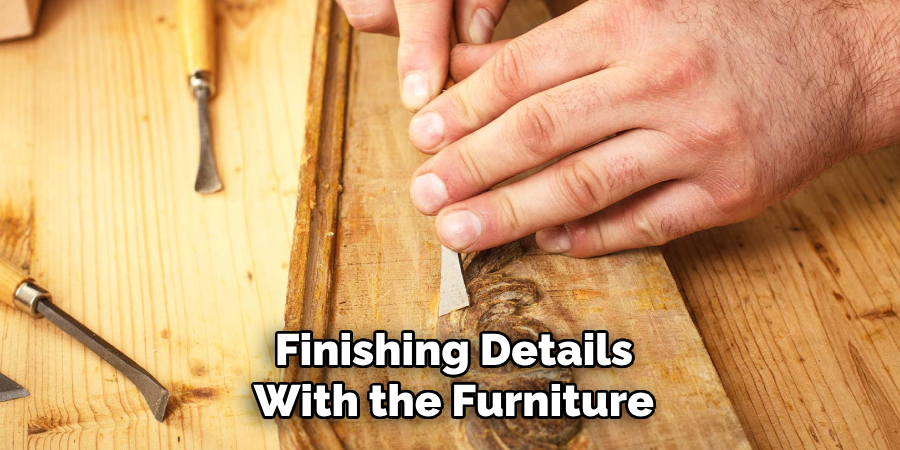
Step 10: Final Touches
It’s time to focus on the finishing details with the furniture fully assembled. Start by inspecting the piece for any small imperfections, such as scratches or uneven surfaces, and address them with touch-up markers, sandpaper, or filler as necessary. Clean the entire surface with a soft cloth to remove dust and fingerprints, ensuring a polished appearance. If desired, apply a protective finish or wax to enhance durability and give the furniture a beautiful sheen. Finally, place the piece in its designated spot and take a moment to admire the transformation and craftsmanship that brought new life to your furniture.
By following these simple steps, you can easily give old or worn furniture a new lease on life.
5 Things You Should Avoid
- Using Harsh Chemicals: Avoid using strong cleaning agents or harsh chemicals on antique furniture. They can strip away the original finish, damage delicate surfaces, or alter the wood’s patina, diminishing its historical and aesthetic value.
- Over-Sanding the Surface: Excessive sanding can remove intricate details or carvings and reduce the furniture’s original character, which is crucial in preserving its authenticity and antique value.
- Ignoring Proper Research: Don’t skip researching the furniture’s history, material, or craftsmanship. Using the wrong restoration techniques or materials can lead to irreversible damage and lower its value.
- Painting Over the Original Finish: While it may seem like a quick way to refresh the look, painting over the original finish can hide the furniture’s natural beauty and significantly reduce its appeal to collectors.
- Exposing Furniture to Improper Conditions: Avoid restoring or placing antique furniture in areas with high humidity, direct sunlight, or extreme temperatures. These conditions can cause warping, cracking, or fading, ultimately impacting the furniture’s longevity.
Conclusion
How to restore antique furniture requires a thoughtful and informed approach to preserve its value and beauty.
Before proceeding with restoration work, always start with careful research to understand the piece’s history and materials. Prioritize gentle cleaning methods and use techniques that enhance the furniture’s original features rather than conceal them. Avoid shortcuts like overpainting or overpolishing, as these can diminish the piece’s authenticity. Additionally, ensure the furniture is kept in optimal conditions to prevent damage over time.
By following these guidelines, you can honor the craftsmanship of the past while breathing new life into treasured antiques.
Huston Douthit is a distinguished figure in the world of furniture design, with a decade of expertise creating innovative and sustainable furniture solutions. His professional focus lies in merging traditional craftsmanship with modern manufacturing techniques, fostering designs that are both practical and environmentally conscious. As the author of Fruniturix, Huston delves into the art and science of furniture-making, inspiring artisans and industry professionals alike.
Education
- RMIT University (Melbourne, Australia)
Associate Degree in Design (Furniture)- Focus on sustainable design, industry-driven projects, and practical craftsmanship.
- Gained hands-on experience with traditional and digital manufacturing tools, such as CAD and CNC software.
- Nottingham Trent University (United Kingdom)
Bachelor’s in Furniture and Product Design (Honors)- Specialized in product design with a focus on blending creativity with production techniques.
- Participated in industry projects, working with companies like John Lewis and Vitsoe to gain real-world insights.
Publications and Impact
In Fruniturix, Huston shares his insights on furniture design processes, materials, and strategies for efficient production. His writing bridges the gap between artisan knowledge and modern industry needs, making it a must-read for both budding designers and seasoned professionals.