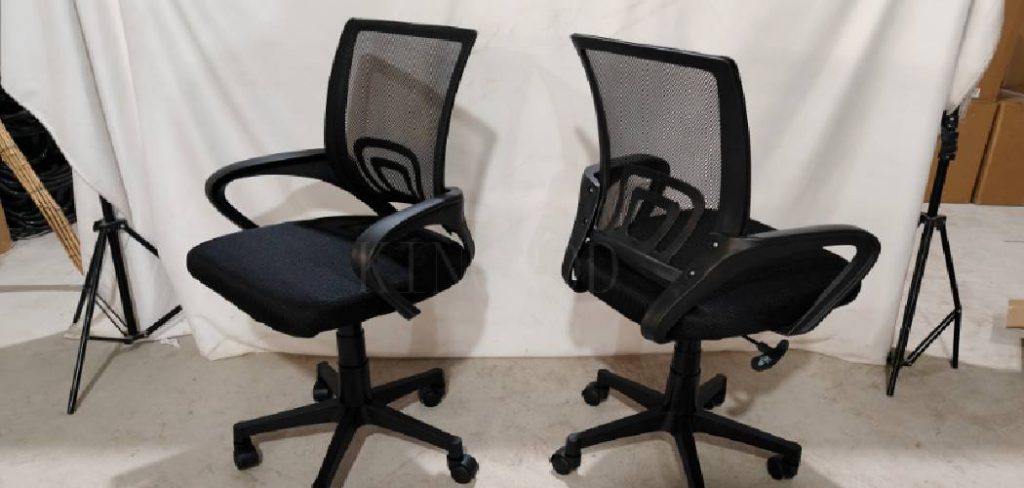
Assembling a mesh office chair can seem like a daunting task at first, but with the right tools and a clear set of instructions, you can have your chair ready for use in no time. This guide will walk you through the process of how to assemble mesh office chair, ensuring a smooth assembly experience. Whether you’re setting up a chair at home or in the office, following these instructions will help you create a comfortable and supportive workspace efficiently.

Recommended Tools
Before you begin assembling your mesh office chair, it’s important to gather the necessary tools to ensure a seamless process. Most chair kits come with the required hardware and an Allen wrench, but having the following tools on hand can make the assembly even easier:
- Screwdriver (flathead or Phillips, depending on the screws provided)
- Rubber mallet (useful for gently securing parts without damage)
- Adjustable wrench (for tightening bolts securely)
- Scissors or a utility knife (to open packaging and cut zip ties)
Having these tools nearby will help you complete the assembly without interruptions and achieve a professional result.
10 Methods How to Assemble Mesh Office Chair
1. Unbox and Organize All Components
Before you begin the actual assembly, unbox the mesh office chair carefully and lay out all the components on a clean, flat surface. Most chairs will include a base with wheels (casters), a gas lift cylinder, the seat cushion, a mesh backrest, armrests, hardware (screws and bolts), and an Allen wrench or tool. Refer to the instruction manual and verify that every piece is accounted for. Organizing the hardware into separate containers or labeled areas reduces the chance of confusion or losing a small piece midway through the build. Taking this preparatory step sets the tone for an efficient and frustration-free assembly process.

2. Install the Casters into the Chair Base
Start by assembling the wheelbase, which typically looks like a five-legged star. Turn the base upside down and press each caster firmly into the designated holes at the ends of the legs. Most casters are push-fit and click into place with slight pressure. In cases where the wheels are resistant, a gentle tap with a rubber mallet can help. Make sure each caster spins freely and is secure. Flip the base over and test the stability before proceeding. This component is the foundation of your chair, so ensuring that all wheels are well-inserted is essential for safety and mobility.
3. Insert the Gas Lift Cylinder into the Base
Once the base is prepared, place the gas lift cylinder into the center hole of the base. Some chairs come with a decorative cover or telescoping sleeve that fits over the gas lift to give it a clean appearance—add this now if included. The gas lift allows height adjustments and will automatically lock into place when the chair’s seat is attached later. Avoid putting any weight on the gas cylinder during this stage. Set the completed base aside momentarily while you focus on the seat and back components.
4. Attach the Mechanism to the Seat Cushion
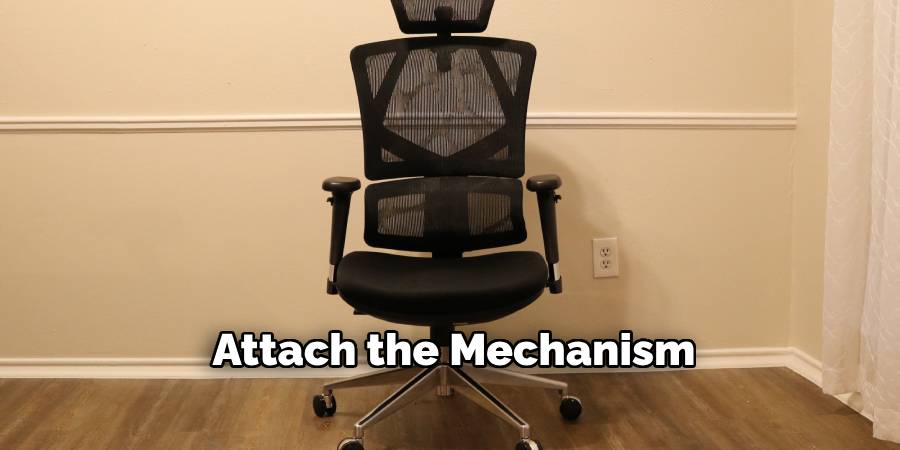
Now turn your attention to the underside of the seat cushion. You’ll find pre-drilled holes for the seat plate or tilt mechanism, which usually includes levers for height and tilt control. Align the mechanism so the front of the plate (usually labeled) matches the front of the seat. Using the included screws and Allen wrench, fasten the mechanism securely to the underside of the cushion. Tighten all screws evenly to avoid misalignment. This step is crucial as the mechanism supports your weight and enables key adjustments for comfort.

5. Connect the Backrest to the Seat
With the seat cushion assembled, it’s time to attach the mesh backrest. Depending on the chair model, the backrest may slot into a bracket connected to the seat or bolt directly into the seat frame. Carefully align the mounting holes of the backrest with the appropriate holes on the seat mechanism or bracket. Insert the bolts or screws as directed, tightening each gradually to ensure a stable connection. This step may require an extra set of hands if the parts are heavy or awkward to balance alone. The backrest plays a major role in lumbar support, so a firm and secure connection is vital.
6. Attach the Armrests (if applicable)
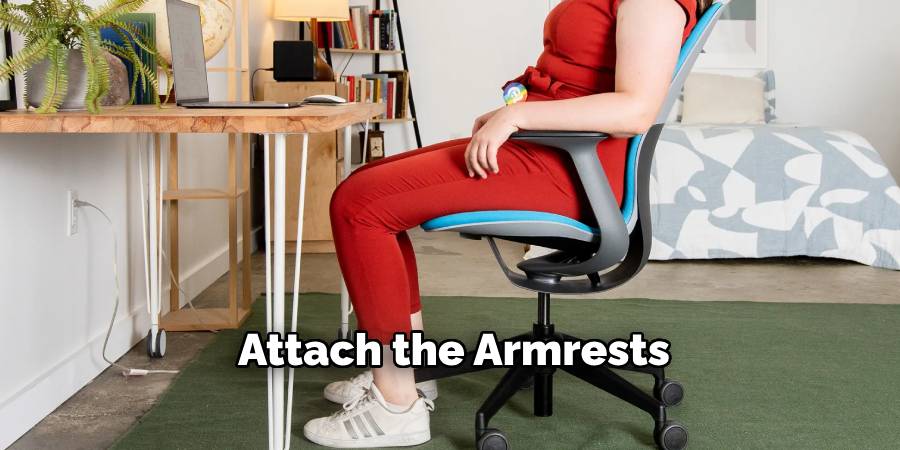
If your mesh office chair includes armrests, now is the time to install them. Most armrests are attached by inserting bolts through the underside of the seat cushion into the base of the armrests. Align the armrests with the pre-drilled holes and fasten them using the provided screws. Be careful not to overtighten, which can strip the threading or damage the material. Some chairs offer adjustable armrests—make sure to follow any special instructions if yours includes height or pivot features. Properly installed armrests enhance ergonomics and reduce strain on shoulders and arms.

7. Join the Seat Assembly to the Base
With the top portion fully assembled, carefully lift the seat assembly and place it onto the gas lift cylinder protruding from the wheelbase. The central hole in the mechanism should rest squarely over the gas lift. Press down gently to secure the connection. This joint usually doesn’t require screws—it locks automatically through friction and pressure once weight is applied. Sit on the chair briefly to settle the components into place, making sure the chair can swivel and adjust in height as intended. If everything feels stable, you can move on to final adjustments.
8. Test All Adjustable Features
Once the chair is assembled, test all its adjustable features to ensure proper functionality. Raise and lower the seat height using the lever on the side—if the gas lift responds smoothly, it’s correctly installed. Check the tilt or recline mechanism and see if it locks and releases as it should. Adjust the armrests, if applicable, and make sure the backrest feels supportive. If anything feels loose or unresponsive, revisit the relevant step and check for alignment or missed fasteners. Testing now avoids discomfort or mechanical failure later.
9. Inspect the Chair for Stability and Tightness
Before declaring your mesh office chair ready for use, give it a final inspection. Ensure all screws, bolts, and connections are tight and flush. Sit in the chair and shift your weight slightly—there should be no wobbling or squeaking. Pay particular attention to the armrests and backrest, as these endure a lot of movement and pressure. If the chair feels unstable, revisit the step-by-step assembly and reinforce where needed. A well-secured and stable chair will not only last longer but also protect you from potential injury due to collapsing components.
10. Maintain and Adjust as Needed
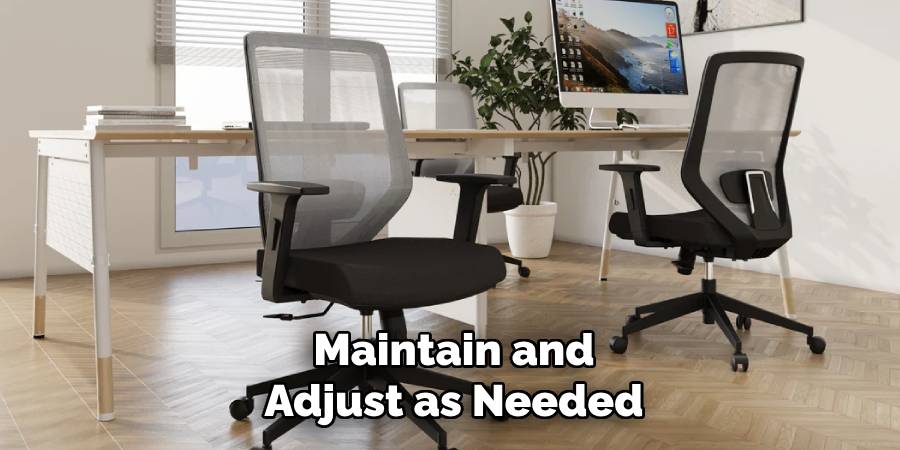
After successful assembly, your mesh office chair will serve you best with occasional maintenance. Check bolts and screws every few months and tighten if necessary. Wipe down mesh and plastic components with a damp cloth or gentle cleaner to prevent dust buildup. Keep the wheels clean and free from debris for smooth movement. Over time, you might want to tweak the tension of the tilt feature or adjust the seat height. Understanding how your chair’s mechanism works will help you make small modifications for ongoing comfort. With proper care, your mesh chair will remain an ergonomic and stylish addition to your workspace.

Maintenance and Upkeep
Regular maintenance is key to ensuring the longevity and functionality of your mesh chair. Start by inspecting all screws, bolts, and joints every six months to confirm everything is securely fastened. Lubricate moving parts, such as the wheels and tilt mechanism, to maintain smooth operation and prevent wear. Vacuum the mesh material gently to remove dust and debris, and address any spills promptly using a mild soap solution to avoid stains. Additionally, monitor the casters for buildup of dirt or hair that may hinder mobility, and clean them as needed. By dedicating time to routine upkeep, your chair will continue to support you comfortably through years of use.
Safety Considerations
When using your chair, it’s important to prioritize safety to avoid potential injuries or damage. Ensure that the chair is placed on a stable and even surface to prevent tipping or instability. Always follow the manufacturer’s weight capacity guidelines to avoid straining the chair’s components. When adjusting the height or tilt mechanisms, do so gradually and while seated to maintain balance. If the chair features casters, avoid using it on surfaces that may cause unexpected sliding, such as smooth tiles or uneven rugs. Regularly inspect the chair for any loose screws or worn-out parts, and address these issues promptly to maintain its integrity and your safety. By adhering to these precautions, you can enjoy a secure and reliable seating experience.
Conclusion
Assembling a mesh office chair may seem intimidating at first glance, but when broken down into clear, manageable steps, the process becomes surprisingly straightforward. From unboxing and organizing hardware to installing the seat mechanism and testing adjustments, every method outlined contributes to a successful and durable build. With a bit of patience and attention to detail, you’ll soon be enjoying the ergonomic benefits and modern design of your new mesh office chair. Thanks for reading our blog post on how to assemble mesh office chair! We hope you found it helpful and informative.
Huston Douthit is a distinguished figure in the world of furniture design, with a decade of expertise creating innovative and sustainable furniture solutions. His professional focus lies in merging traditional craftsmanship with modern manufacturing techniques, fostering designs that are both practical and environmentally conscious. As the author of Fruniturix, Huston delves into the art and science of furniture-making, inspiring artisans and industry professionals alike.
Education
- RMIT University (Melbourne, Australia)
Associate Degree in Design (Furniture)- Focus on sustainable design, industry-driven projects, and practical craftsmanship.
- Gained hands-on experience with traditional and digital manufacturing tools, such as CAD and CNC software.
- Nottingham Trent University (United Kingdom)
Bachelor’s in Furniture and Product Design (Honors)- Specialized in product design with a focus on blending creativity with production techniques.
- Participated in industry projects, working with companies like John Lewis and Vitsoe to gain real-world insights.
Publications and Impact
In Fruniturix, Huston shares his insights on furniture design processes, materials, and strategies for efficient production. His writing bridges the gap between artisan knowledge and modern industry needs, making it a must-read for both budding designers and seasoned professionals.


