

Are you looking for a fun and practical project to do with your kids? Making a personalised wooden toy box is the perfect activity! Not only will it provide storage space for all those toys, but it will also be a special keepsake that your children can cherish for years to come.
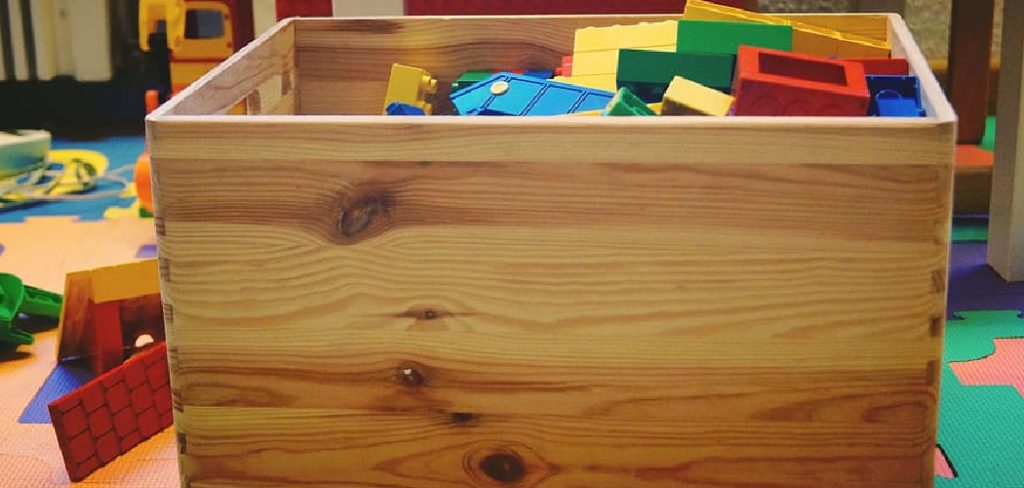
How to make a wooden toy box is a rewarding project that combines functionality with craftsmanship. Not only does it provide a durable and personalized storage solution for toys, but it also adds a touch of charm to any room. Whether you’re an experienced woodworker or a beginner, building a toy box allows you to showcase your skills while crafting something meaningful for your home or a loved one.
With the right materials, tools, and step-by-step guidance, you can create a sturdy and beautiful piece that will be cherished for years to come.
What Are the Benefits of Building a Toy Box?
There are numerous benefits to building a toy box, both for yourself and for others. Here are just a few:
- Personalization: When you build your toy box, you have the freedom to choose the design, size, and finish that best fit your style and needs. You can also add special features like personalized engravings or compartments for specific toys.
- Customization: In addition to personalizing the appearance of the toy box, you can also customize its functionality. For example, you may want to include wheels for easy mobility or safety hinges to prevent fingers from getting caught.
- Quality: By building a toy box yourself, you have control over the quality of materials used. You can ensure that it is sturdy and durable enough to withstand rough play and heavy use.
- Cost-effective: Building a toy box yourself can also save you money in the long run. Instead of constantly buying new toy storage solutions, you can create a one-time investment that will last for years.
- Teaching Opportunity: Involving your child in the building process can be a fun and educational experience. They can learn basic woodworking skills, develop problem-solving abilities, and gain a sense of accomplishment from creating something with their own hands.
What Will You Need?
To build a toy box, you will need the following materials:
- Wood (preferably plywood or pine boards)
- Screws
- Drill
- Saw
- Sandpaper
- Paint or stain (optional)
- Handles or knobs (optional)
You will also need basic hand tools such as a measuring tape, a pencil, and a hammer. It is important to choose high-quality materials to ensure the sturdiness and durability of the toy box.
9 Easy Steps on How to Make a Wooden Toy Box
Step 1. Measure and Cut the Wood
Using your measuring tape and pencil, carefully measure and mark the dimensions for each piece of the toy box. Commonly, you will need six pieces of wood — four side panels (two longer for the front and back, and two shorter for the sides), one bottom panel, and one lid. Ensure your measurements are accurate and consistent to avoid fitting issues later. Once the wood is marked, use a saw to carefully cut out each piece.
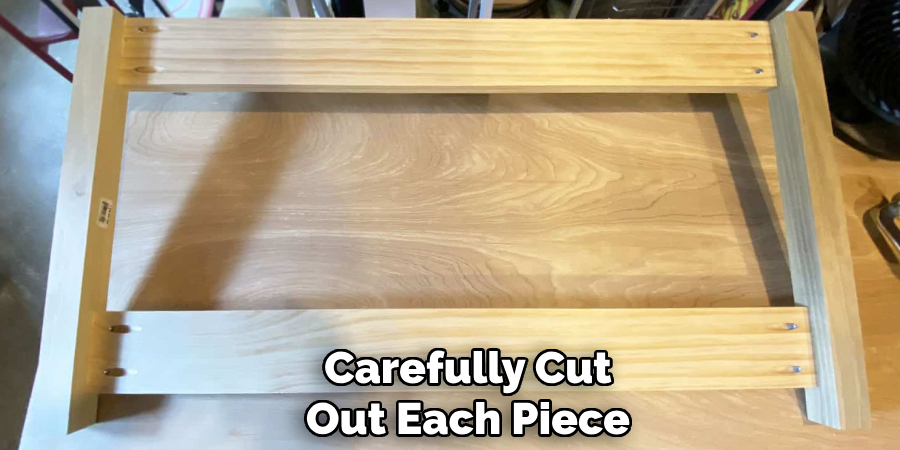
A circular saw or table saw is recommended for straight, clean cuts, but a handsaw can also be used if you prefer. After cutting, use sandpaper to smooth any rough edges or splinters, ensuring all pieces are safe to handle and child-friendly. Accurate preparation at this step will set the foundation for a well-built and professional-looking toy box.
Step 2. Sand the Edges
Sanding the edges of each wooden piece is a crucial step to ensure the toy box is both safe and aesthetically pleasing. Begin with a coarse sandpaper, such as 60-80 grit, to remove any major imperfections or splinters from the edges and surfaces. Once the rough sanding is complete, switch to a finer grit sandpaper, like 120-150, to achieve a smoother and more polished finish.
Pay special attention to corners and edges, as these areas are prone to roughness and can pose a risk of splinters. If available, using an electric sander can make this process quicker and ensure more uniform results. For a final touch, you might even consider using an ultra-fine sandpaper, around 220 grit, for an exceptionally smooth surface. Thorough sanding will not only enhance the safety and appearance of the toy box but also help the wood absorb paint or stain more evenly in later steps.
Step 3. Drill Pilot Holes
Drilling pilot holes is an essential step to ensure the assembly process goes smoothly and minimizes the risk of the wood splitting. Before you begin, carefully mark the spots where screws will be placed using a pencil or a marker—this will help align the pieces of wood accurately. Select a drill bit that is slightly smaller in diameter than the screws you plan to use.
This ensures the screws will grip the wood securely without causing unnecessary damage. When drilling, keep the drill straight and steady to create clean, precise holes. Depending on the thickness of the wood, you may also consider using clamps to hold the pieces in place for added stability.
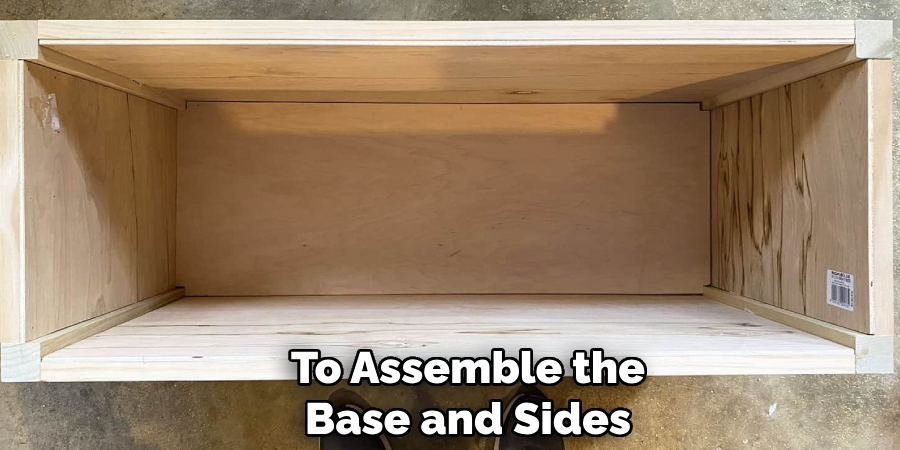
Step 4. Assemble the Base and Sides
To assemble the base and sides, position the pre-drilled pieces of wood on a flat surface, ensuring the edges align properly. Begin by attaching the base to one of the side panels using screws and a screwdriver or drill. Tighten the screws gradually to avoid splitting the wood. Repeat this process with the remaining side panels, connecting them to the base one at a time. Use a level to ensure everything is straight and aligned as you go. For additional stability, consider reinforcing the joints with wood glue before screwing them together.
Step 5. Attach the Lid
Place the lid on top of the assembled box, ensuring it fits snugly and aligns with the edges. Secure the lid using hinges, attaching one side of each hinge to the lid and the other to the back panel of the box. Position the hinges evenly, measuring the spacing to maintain balance and functionality.
Use a screwdriver or drill to attach the screws, tightening them securely but cautiously to avoid damaging the wood. Test the lid by opening and closing it to ensure it moves smoothly and is properly aligned.
Step 6. Add Handles or Knobs
Adding handles or knobs to your box not only enhances its functionality but also contributes to its overall appearance. Choose handles or knobs that match the style and purpose of your box—sleek metal handles for a modern look, ornate vintage-style knobs for a classic aesthetic, or wooden accents for a rustic feel.
Position the handles or knobs evenly on the lid or sides of the box, marking their placement with a pencil to ensure symmetry and proper alignment. Use a drill to carefully create pilot holes for the screws, which will help prevent the wood from splitting. Secure the handles or knobs in place by tightening the screws, ensuring they are firmly attached but not over-tightened, which could strip the screws or damage the wood.
Step 7. Sand and Paint or Stain
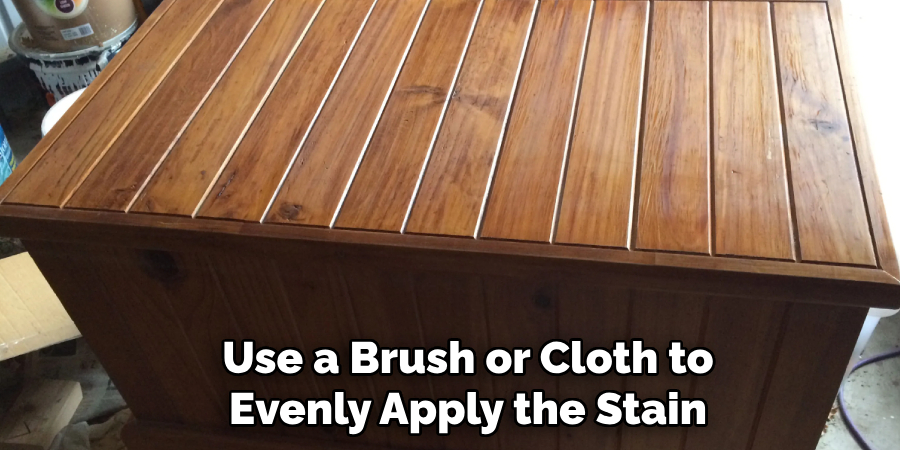
Begin by sanding the entire surface of the box using fine-grit sandpaper to ensure a smooth and even finish. Pay close attention to corners, edges, and any areas where the wood grain may feel rough. Once the sanding is complete, wipe the surface thoroughly with a clean, damp cloth to remove dust and debris. Decide whether you want to paint or stain the box based on your desired aesthetic.
For painting, apply a primer first to help the paint adhere, then follow with one or two coats of your chosen color, allowing each coat to dry fully. For staining, use a brush or cloth to evenly apply the stain, working it into the wood grain and wiping off any excess.
Step 8. Attach Safety Hinges
Safety hinges are an essential addition to your box, especially if it will be used frequently or by children. Begin by aligning the safety hinges with the edge of the lid and the box. Mark the positions for the screws using a pencil, ensuring they are evenly spaced. Pre-drill the screw holes carefully to prevent the wood from splitting.
Attach the hinges to the box with screws, tightening them securely but not overly so, to avoid damaging the hardware or the wood. Test the hinges by slowly opening and closing the lid to ensure smooth, safe operation. Safety hinges typically prevent the lid from slamming shut, adding an important layer of protection.
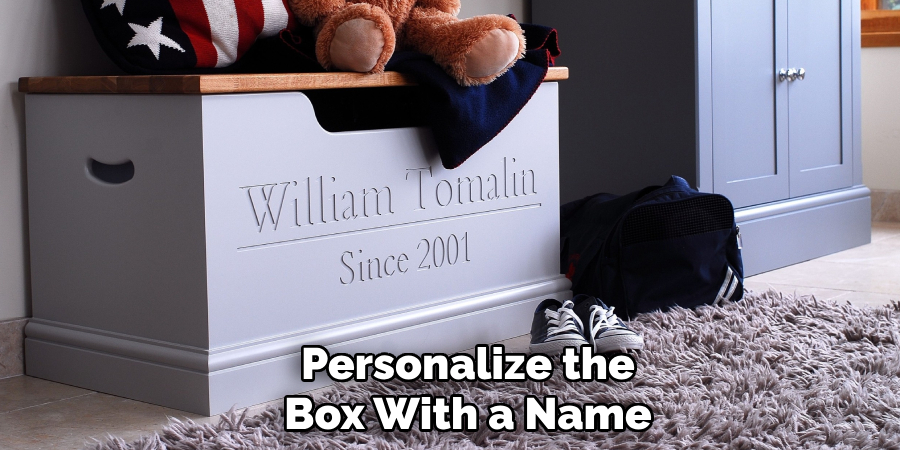
Step 9. Personalize with Name or Design
Using paint, stencils, or wood-burning tools, personalize the box with a name, meaningful design, or decorative patterns. Before beginning, lightly sketch the design or lettering with a pencil to serve as a guide. For painted designs, choose acrylic paints and apply thin layers to prevent smudging and achieve a clean look. If using a wood-burning tool, ensure proper safety measures, such as working in a well-ventilated space and wearing heat-resistant gloves. Adding a personalized touch enhances the uniqueness of the box, making it a truly special and one-of-a-kind item.
By following these simple steps and incorporating your creativity, you can transform a plain wooden box into a beautiful piece of art that also serves as a functional storage solution.
Conclusion
How to make a wooden toy box is a rewarding project that combines practicality with creativity.
By carefully selecting materials, designing a functional yet appealing structure, and adding personalized details, you can craft a sturdy and unique storage solution for toys or other cherished items. The process not only provides an opportunity to express your craftsmanship but also results in a timeless piece that can be enjoyed for years to come.
With patience and attention to detail, your handmade wooden toy box will be a testament to the effort and care you put into creating something truly special.
Huston Douthit is a distinguished figure in the world of furniture design, with a decade of expertise creating innovative and sustainable furniture solutions. His professional focus lies in merging traditional craftsmanship with modern manufacturing techniques, fostering designs that are both practical and environmentally conscious. As the author of Fruniturix, Huston delves into the art and science of furniture-making, inspiring artisans and industry professionals alike.
Education
- RMIT University (Melbourne, Australia)
Associate Degree in Design (Furniture)- Focus on sustainable design, industry-driven projects, and practical craftsmanship.
- Gained hands-on experience with traditional and digital manufacturing tools, such as CAD and CNC software.
- Nottingham Trent University (United Kingdom)
Bachelor’s in Furniture and Product Design (Honors)- Specialized in product design with a focus on blending creativity with production techniques.
- Participated in industry projects, working with companies like John Lewis and Vitsoe to gain real-world insights.
Publications and Impact
In Fruniturix, Huston shares his insights on furniture design processes, materials, and strategies for efficient production. His writing bridges the gap between artisan knowledge and modern industry needs, making it a must-read for both budding designers and seasoned professionals.