Making a ghost pillow is a fun and creative project that adds a whimsical touch to your Halloween decor or any spooky-themed setting. In this guide, we’ll show you how to make a ghost pillow. You’ll learn how to choose the right fabric, such as white felt or cotton, and measure and cut it into ghost-like shapes.
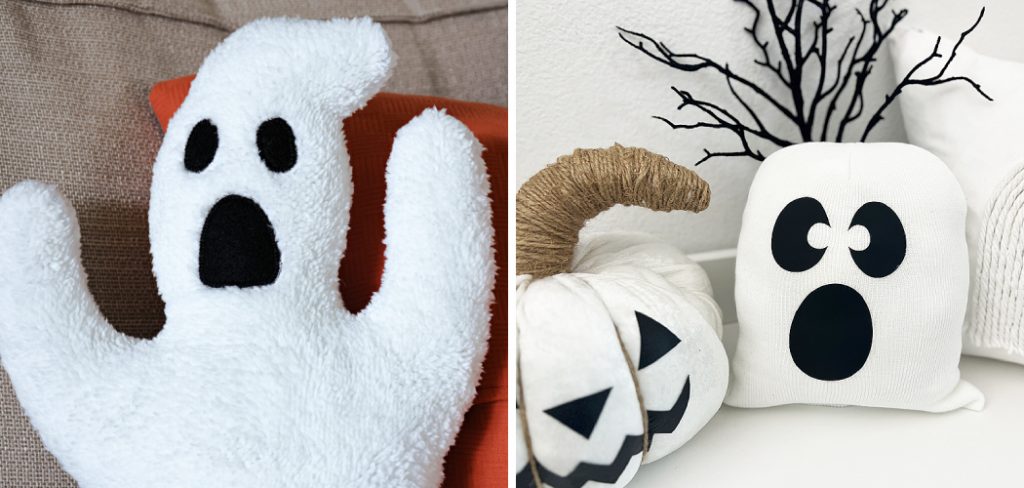
We’ll cover sewing techniques for assembling the pillow, including stitching the edges and leaving an opening for stuffing. You’ll also discover how to stuff the pillow with batting or pillow stuffing to achieve a soft and cuddly feel. Finally, we’ll discuss adding facial features like eyes and a mouth using fabric paint or embroidery for a playful or eerie effect.
By following these steps, you can create a charming and unique ghost pillow that’s perfect for adding a festive spirit to your home decor.
Understanding the Ghost Pillow Design
Creating a ghost pillow involves thinking carefully about its design, which can range from cute and friendly to spooky and eerie, depending on your preference. The basic silhouette of the ghost should have a rounded top that tapers down into wavy edges to mimic the look of a floating apparition.
When choosing the fabric, consider how it will complement your overall Halloween decor—white fabric is traditional, but you might opt for off-white or even glow-in-the-dark material for a unique twist.
The ghost’s facial features play a crucial role in defining its character. Large, round eyes paired with a small, oval mouth create an endearing expression, while elongated, droopy eyes and a wide, gaping mouth can give it a more haunting appearance.
Remember that the placement and proportions of these features are key to achieving the desired look. By understanding these design elements, you can tailor your ghost pillow to perfectly fit the mood of your festive decorations.
Exploring Different Design Variations
When it comes to ghost pillow designs, the possibilities are virtually endless, allowing you to showcase your creativity and align the decor with your preferred Halloween theme. One popular variation is the friendly ghost, which features soft curves and gentle expressions that make it ideal for a family-friendly atmosphere.
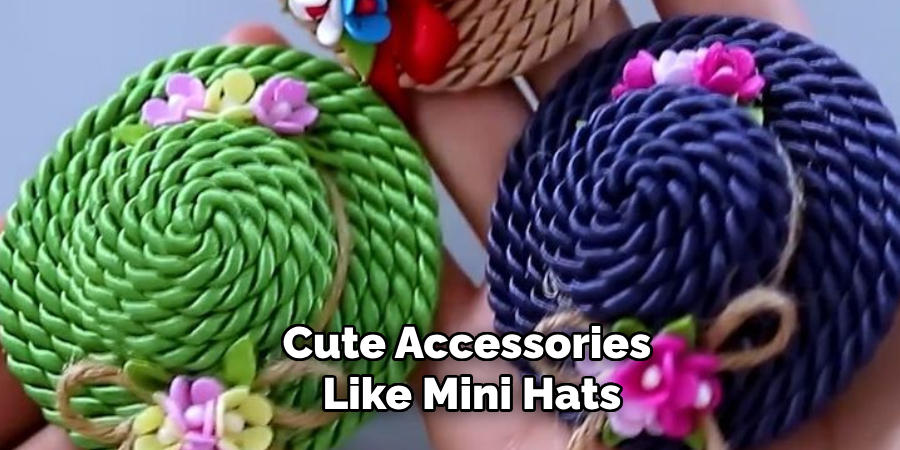
These ghosts often have rounded edges and smiling faces, and they can be adorned with cute accessories like mini hats or bows. On the other hand, if you’re aiming for a more classic Halloween look, consider crafting a spooky ghost with jagged edges and eerie facial expressions.
Using materials like tattered fabric or adding glow-in-the-dark paint can enhance the chilling effect. Another fun idea is to create themed ghost pillows inspired by famous ghost characters from movies or literature, adding unique details that capture their iconic looks.
For a touch of sophistication, you could experiment with chic black-and-white designs or even incorporate metallic accents for a modern take on the traditional ghost pillow. No matter the variation, each design offers an exciting opportunity to personalize your Halloween decorations and impress your guests.
10 Methods How to Make a Ghost Pillow
1. Gather Materials and Tools
To begin making a ghost pillow, gather all the necessary materials and tools. You will need white fabric suitable for sewing, such as cotton or felt, depending on the desired texture and look of your ghost. Other materials include polyester fiberfill or pillow stuffing for filling the pillow, scissors, sewing needles, thread in white or matching color, fabric glue (optional), and embellishments like buttons or fabric markers (optional). Ensure your workspace is well-lit and spacious enough to cut and sew comfortably.
2. Designing the Ghost Shape
Decide on the size and shape of your ghost pillow. Common shapes include traditional ghost silhouettes with a rounded head and flowing body or more stylized designs resembling cartoon ghosts. Use a pencil or fabric marker to sketch the outline of your ghost onto the white fabric.
Cut out two identical shapes for the front and back of the pillow, ensuring they are symmetrical. The size of your ghost pillow can vary depending on personal preference and intended use, from small decorative pillows to larger ones for cuddling.
3. Sewing the Pillow Pieces Together
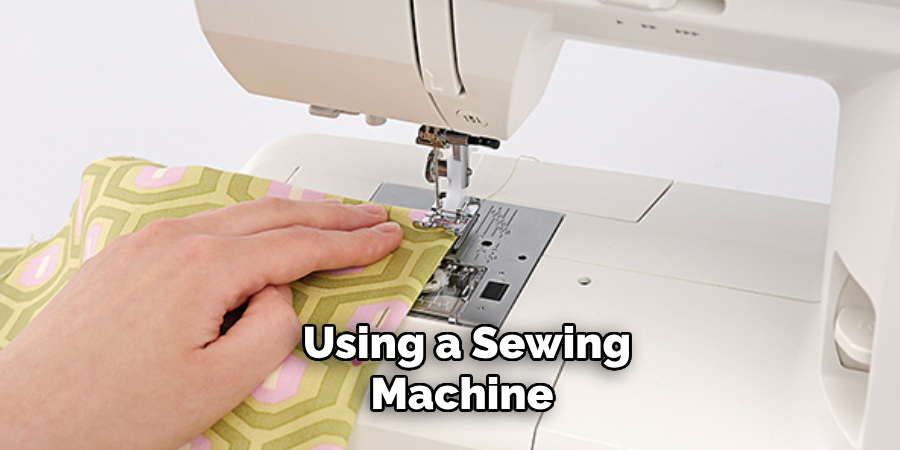
Once you have the front and back pieces cut out, place them together with the right sides facing inward. Pin the edges together to secure them in place. Using a sewing machine or hand stitching with a needle and thread, sew around the edges of the ghost pillow, leaving a small opening for turning and stuffing.
Use a straight stitch or a zigzag stitch if you prefer a more secure seam. Reinforce the seams at the corners and around curves to prevent them from unraveling once the pillow is stuffed.
4. Turning the Pillow Inside Out and Stuffing
Carefully turn the ghost pillow inside out through the opening you left unstitched. Use a pencil or chopstick to gently push out the corners and edges for a smooth shape. Begin stuffing the pillow with polyester fiberfill or pillow stuffing through the opening.
Add stuffing gradually, ensuring the pillow is evenly filled but not overstuffed, which can distort the ghost shape. Adjust the stuffing as needed to achieve the desired firmness and shape of your ghost pillow.
5. Closing the Opening
After stuffing the pillow, carefully hand stitch or use a sewing machine to close the opening with a hidden stitch. Tuck the raw edges inward and sew along the seam allowance to create an invisible closure.
Alternatively, use fabric glue to secure the opening if you prefer a no-sew method. Allow the glue to dry completely before handling the pillow. Ensure the closure is secure to prevent the stuffing from coming out over time.
6. Adding Facial Features (Optional)
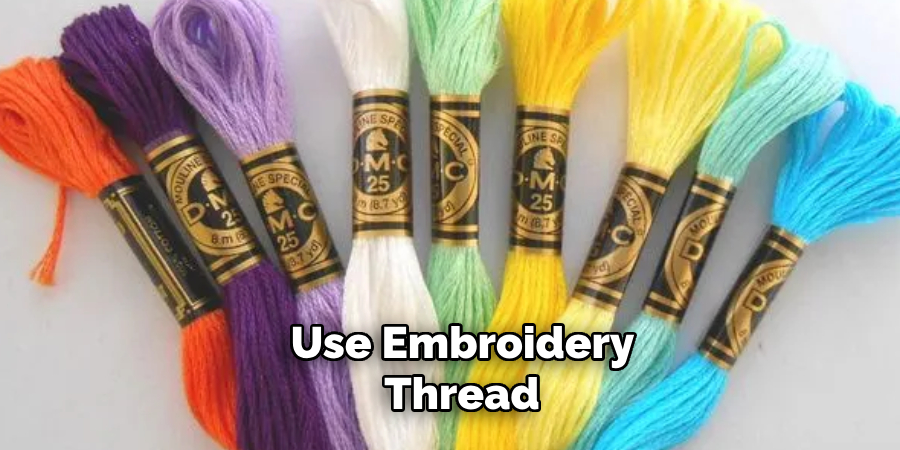
To give your ghost pillow a personality, consider adding facial features using buttons, fabric markers, or embroidery thread. Sew on two small buttons or use fabric markers to draw eyes and a mouth onto the ghost’s face. Experiment with different expressions to create a playful or spooky character.
Alternatively, use embroidery thread to stitch on facial features for a more detailed and personalized look. Adding facial features is optional but can enhance the charm and character of your ghost pillow.
7. Creating Ghostly Textures (Optional)
For a more textured ghost pillow, consider using different fabrics or techniques. Use textured white fabric like faux fur or fleece to give your ghost a soft and fluffy appearance. Experiment with ruffles, lace, or tulle fabric to create a flowing and ethereal effect for the ghost’s body.
Layer different fabrics or add embellishments like sequins or beads to enhance the ghostly texture. These creative touches can add depth and dimension to your ghost pillow, making it a unique and eye-catching decor piece.
8. Decorating with Accessories (Optional)
Enhance your ghost pillow with accessories to complement its theme or the season. Attach a small fabric bow or ribbon around the ghost’s neck for a festive touch. Sew on miniature accessories like tiny hats, scarves, or even miniature props to customize your ghost pillow further.
Experiment with different colors and textures to create a themed ghost pillow, such as a holiday-themed ghost with seasonal decorations. These accessories can add personality and charm to your ghost pillow, making it a conversation piece in your home decor.
9. Making a Set of Ghost Pillows
Consider making a set of ghost pillows in varying sizes or designs to create a cohesive and playful display. Use different fabrics, colors, or facial expressions to distinguish each ghost pillow while maintaining a consistent theme.
Arrange the ghost pillows on a sofa, bed, or entryway bench to create a whimsical and inviting atmosphere. Mix and match sizes and styles to suit your decor preferences and space requirements. Making a set of ghost pillows allows you to showcase your creativity and crafting skills while adding a fun element to your home decor.
10. Displaying and Enjoying Your Ghost Pillow
Once your ghost pillow is complete, display it prominently in your home to enjoy its whimsical charm. Place it on a sofa or armchair in the living room, on a bed as part of seasonal decor, or in a child’s bedroom for a playful touch.
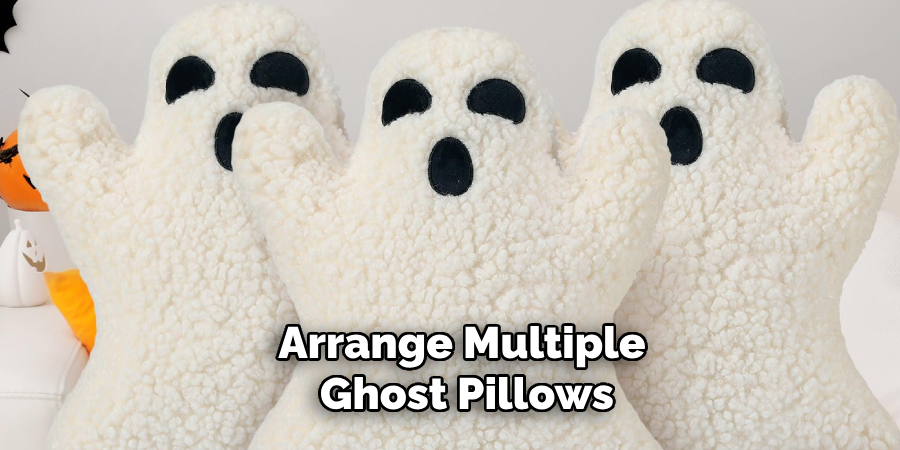
Arrange multiple ghost pillows together or pair them with other themed decor items to create a cohesive and festive display. Encourage friends and family to admire your handmade ghost pillow and share in the delight of its unique design and craftsmanship.
Conclusion
In conclusion, making a ghost pillow is a creative and enjoyable craft project that allows you to personalize your home decor with a touch of whimsy.
By following these ten methods, from gathering materials and designing the ghost shape to adding facial features, creating ghostly textures, and displaying your finished pillow, you can create a charming and unique decor piece. Thanks for reading, and we hope this has given you some inspiration on how to make a ghost pillow!
Huston Douthit is a distinguished figure in the world of furniture design, with a decade of expertise creating innovative and sustainable furniture solutions. His professional focus lies in merging traditional craftsmanship with modern manufacturing techniques, fostering designs that are both practical and environmentally conscious. As the author of Fruniturix, Huston delves into the art and science of furniture-making, inspiring artisans and industry professionals alike.
Education
- RMIT University (Melbourne, Australia)
Associate Degree in Design (Furniture)- Focus on sustainable design, industry-driven projects, and practical craftsmanship.
- Gained hands-on experience with traditional and digital manufacturing tools, such as CAD and CNC software.
- Nottingham Trent University (United Kingdom)
Bachelor’s in Furniture and Product Design (Honors)- Specialized in product design with a focus on blending creativity with production techniques.
- Participated in industry projects, working with companies like John Lewis and Vitsoe to gain real-world insights.
Publications and Impact
In Fruniturix, Huston shares his insights on furniture design processes, materials, and strategies for efficient production. His writing bridges the gap between artisan knowledge and modern industry needs, making it a must-read for both budding designers and seasoned professionals.


