Building a custom massage table can be an enriching and cost-effective project, offering numerous benefits. A self-built table allows you to precisely tailor the dimensions and features to meet personal or professional needs.
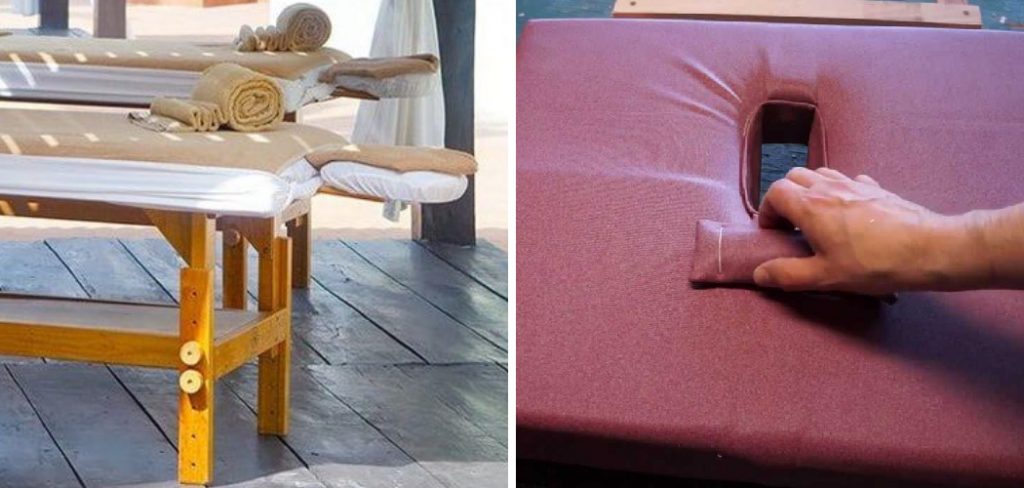
When considering how to build a massage table, key factors such as comfort, stability, and portability should be at the forefront of your design process. Customization options enable you to choose high-quality materials and add unique features that enhance the client experience, such as adjustable headrests and arm supports.
Moreover, creating your own table can result in significant savings compared to purchasing a pre-made one, allowing for an upscale yet affordable outcome. This guide will take you through every step of building a massage table, ensuring that your final product is functional and aesthetically pleasing.
Whether you are a professional therapist or an enthusiast, a custom-built massage table offers unparalleled versatility and satisfaction.
Materials and Tools Needed
Before diving into how to build a massage table, it’s essential to gather all the necessary materials and tools to ensure a smooth construction process.
The primary materials include wood planks for the frame, foam padding for comfort, upholstery fabric to cover the padding, screws, wood glue for assembly, and hinges if you opt for adjustable features.
Essential tools include a saw for cutting wood, a drill and screwdriver for securing screws, a staple gun for attaching fabric, a measuring tape for accuracy, and clamps to hold components in place during assembly.
For those looking to enhance the table with additional features, consider gathering optional materials such as adjustable legs for height customization, a headrest for added comfort, and arm supports for client relaxation. With these materials and tools at hand, you’ll be well-equipped to begin building a sturdy, comfortable, and functional massage table tailored to your specific needs.
Designing the Massage Table
Designing a massage table requires careful consideration of dimensions, materials, and structural integrity to ensure comfort and durability
. First, determine the dimensions and height of the table.
Typically, a massage table is around 28 to 32 inches wide, 72 inches long, and 24 to 34 inches in height, depending on whether it will be used by a therapist or at home. Adjustable height features can be particularly useful to cater to different practitioners’ and clients’ needs.

Next, choose the ideal type of wood and foam padding. Hardwood such as oak or maple is recommended for the frame due to its robust nature, ensuring longevity and stability. For the foam padding, opt for a high-density foam around 2 to 4 inches thick; this thickness balances comfort and support without compromising the table’s stability Planning the table’s structure involves considering all components, including the frame, legs, and support mechanisms. The frame should be designed to evenly distribute weight, while the legs need to be securely attached, either fixed or adjustable.
Support mechanisms such as crossbars or diagonal braces can provide additional stability. Attention to these details will result in a sturdy, reliable massage table that meets your specific requirements.
How to Build a Massage Table: Building the Frame
Cutting the Wood
Measuring and cutting the wood planks to the desired dimensions is a critical first step in building the frame. Ensure that all pieces are accurately cut to maintain a stable structure. Precise measurements and clean cuts will lay the foundation for a sturdy and functional massage table.
Assembling the Frame
To construct the base frame, start by attaching the cut planks together using screws and wood glue for extra strength. Begin with the perimeter, forming a rectangular or square shape, depending on your design.
Make sure all corners are square and edges are flush. For added stability, reinforce the frame by installing additional crossbars or diagonal braces. This will help distribute weight evenly and support the entire structure. Clamps can be used to hold the pieces in place as the glue dries, ensuring a strong and durable bond.
Attaching the Legs
The legs can be secured to the frame using either fixed supports or hinges if adjustability is desired. Fixed supports are straightforward: attach each leg to the frame using screws and wood glue, ensuring they are perpendicular to the frame for stability.
If you prefer adjustable height features, consider installing hinges at the joint where the legs meet the frame. This allows the legs to pivot and lock into different heights.
Additional adjustable mechanisms like telescoping legs can be used for more precise height customization. Make sure all legs are level and securely attached to prevent wobbling.
How to Build a Massage Table: Adding the Padding and Upholstery
Cutting the Foam Padding
The next crucial step is cutting the foam padding to fit the dimensions of the tabletop. Ensure that the foam is thick enough for comfort, typically around 2 to 4 inches, but not so thick that it hinders the table’s stability. Accurate cutting ensures that the padding fits securely on the frame.
Attaching the Foam Padding
The foam can be secured to the wooden frame using adhesive or spray glue. Begin by evenly applying the adhesive to the wooden surface, focusing on the edges and the centerline for maximum hold.
Carefully place the foam padding onto the adhesive-coated surface, pressing down firmly to ensure a secure bond. It’s essential to ensure that the foam is evenly attached and fully covers the entire tabletop without any gaps.
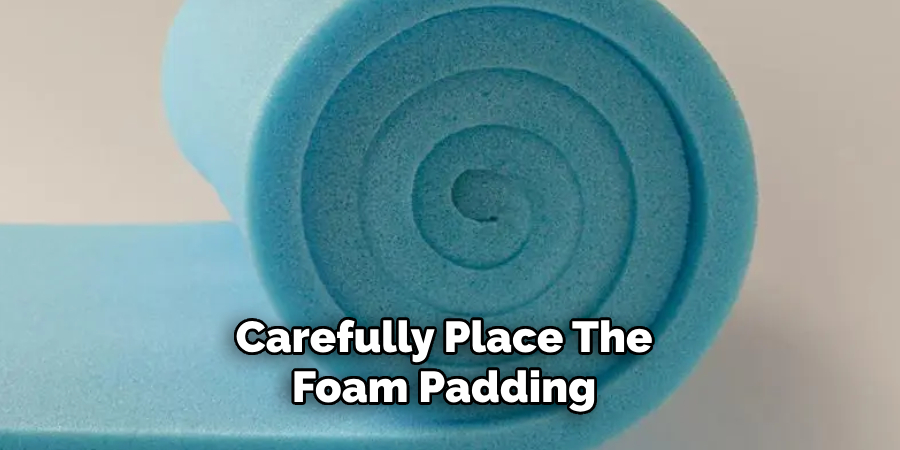
Allow the adhesive to dry completely, following the manufacturer’s instructions to guarantee a strong and lasting attachment.
Upholstering the Table
Draping the upholstery fabric over the foam padding is the final step in creating a comfortable and visually appealing surface. Start by laying the fabric flat over the foam, smoothing out any wrinkles or folds.
Using a staple gun, begin at one corner and work your way around the edges, securing the fabric to the underside of the table frame.
Ensure that the fabric is taut and wrinkle-free for a professional finish. Pull the fabric tight and staple it at regular intervals, making sure it remains smooth and even throughout the process to achieve a clean, polished look.
Finishing Touches
Trim any excess fabric and secure any loose ends to ensure a tidy appearance. For aesthetic appeal, consider adding decorative trim or piping around the table’s edges. These finishing touches enhance the table’s visual appeal and provide additional durability to the upholstery.
Adding Additional Features
Installing an Adjustable Headrest
Enhancing your massage table with an adjustable headrest can significantly increase client comfort. Start by selecting a headrest that includes adjustable angles and height settings. Attach the mounting bracket securely to the top end of the table using screws and wood glue.
Ensure the bracket is firmly in place before attaching the headrest. Adjustability allows the client to find the most comfortable position, reducing neck strain and improving overall relaxation during the massage.
Adding Arm Supports and Side Bolsters
For added client relaxation, consider incorporating arm supports and side bolsters. These features provide additional comfort, especially during extended sessions.
Arm supports can be attached to the sides of the table using brackets, which should be securely fastened with screws. Side bolsters can be positioned along the table’s edges and held in place with Velcro or adjustable straps.
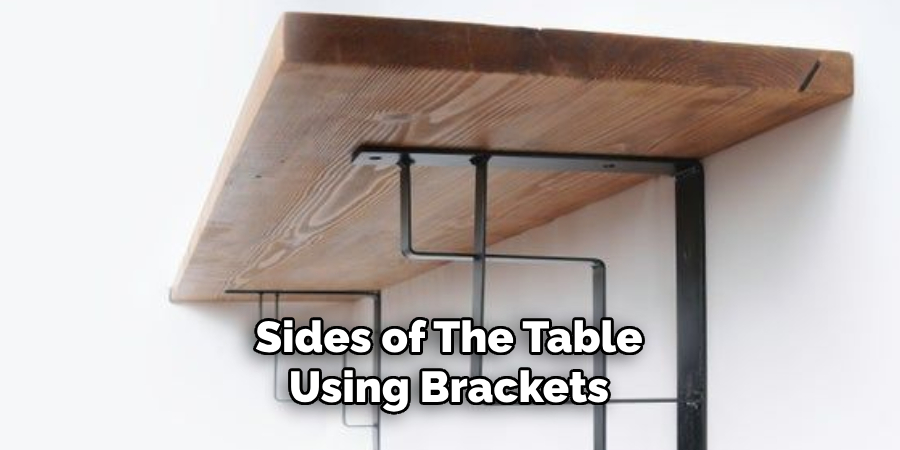
These elements support the client’s body, reducing pressure points and enhancing the overall massage experience.
Incorporating a Face Cradle with Cut-Out
A face cradle with a cut-out is essential for face-down positioning. This component can be attached to the head end of the table, often using a similar mounting system as the adjustable headrest.
The cut-out design allows clients to breathe easily while lying face down. Ensure the face cradle is cushioned and adjustable for optimal client comfort.
Ensuring Stability and Safety
Checking All Joints and Connections for Tightness and Stability
Once the massage table is fully assembled, inspecting all joints and connections is crucial. Examine each screw, bolt, and hinge to ensure they are securely fastened and show no signs of loosening. Tighten any components that may appear unstable to maintain the table’s structural integrity.
Reinforcing Weak Points with Additional Screws or Brackets
Identify any potential weak points in the frame or legs and reinforce them with additional screws or brackets. Focus on areas that bear the most weight and stress, such as the leg joints and crossbars. Adding extra support will enhance the table’s durability and longevity.
Testing the Table for Weight Capacity and Balance
Finally, the massage table is tested to verify its weight capacity and balance. Apply gradual pressure to simulate body weight, checking for any signs of wobbling or instability. Ensure the table remains level and stable under different weight distributions. This step is essential to guarantee client safety and confidence during use.
Final Assembly and Inspection
Assembling All Parts and Performing a Final Check
Begin the final assembly by carefully attaching all remaining components, including any adjustable parts such as the headrest, arm supports, and face cradle. Ensure each piece is properly aligned and secured according to the manufacturer’s specifications. A methodical approach will help prevent any oversight or misalignment.
Inspecting for Any Sharp Edges or Protruding Screws
Conduct a thorough inspection of the entire table, feeling for any sharp edges or protruding screws that could pose a hazard to clients. Use sandpaper to smooth any rough areas, and tighten or reposition any screws that extend beyond the surface. This step is critical for client safety and comfort.
Ensuring the Table is Level and Stable on All Surfaces
Finally, place the table on various surfaces to ensure it is level and stable. Adjust the legs as needed to eliminate any wobbling. Confirm that the table remains firm and balanced, regardless of the floor type or surface irregularities, ensuring a dependable and professional-grade massage experience.
Maintenance and Care Tips
Regularly Inspecting the Table for Wear and Tear
To maintain your massage table in optimal condition, perform regular inspections for any signs of wear and tear. Pay attention to the upholstery, joints, and any moving parts, addressing small issues promptly to prevent larger problems.
Cleaning the Upholstery with Appropriate Cleaners
Clean the upholstery using a mild, non-abrasive cleaner suitable for the material. Wipe down the surface after each use to ensure hygiene and extend the lifespan of the upholstery.
Storing the Table Properly to Prevent Damage
Store the table in a cool, dry place when not in use. Use a protective cover to shield it from dust and moisture, and avoid placing heavy objects on top to prevent damage.
Conclusion
Building a massage table entails several systematic steps, from selecting materials and assembling the frame to adding finishing touches and additional features. Following this guide on how to build a massage table allows for the creation of a sturdy, comfortable, and customized piece of equipment.
Customizing your massage table to fit personal or professional needs can include features like adjustable headrests, arm supports, and face cradles to enhance client comfort and satisfaction.
A well-built, personalized massage table contributes to a more enjoyable massage experience for clients and reflects a commitment to quality and care.
By investing time and effort into constructing a durable and functional table, you can ensure its longevity, safety, and effectiveness. Whether for home use or professional practice, a custom-built massage table is essential for promoting relaxation and wellness.
Huston Douthit is a distinguished figure in the world of furniture design, with a decade of expertise creating innovative and sustainable furniture solutions. His professional focus lies in merging traditional craftsmanship with modern manufacturing techniques, fostering designs that are both practical and environmentally conscious. As the author of Fruniturix, Huston delves into the art and science of furniture-making, inspiring artisans and industry professionals alike.
Education
- RMIT University (Melbourne, Australia)
Associate Degree in Design (Furniture)- Focus on sustainable design, industry-driven projects, and practical craftsmanship.
- Gained hands-on experience with traditional and digital manufacturing tools, such as CAD and CNC software.
- Nottingham Trent University (United Kingdom)
Bachelor’s in Furniture and Product Design (Honors)- Specialized in product design with a focus on blending creativity with production techniques.
- Participated in industry projects, working with companies like John Lewis and Vitsoe to gain real-world insights.
Publications and Impact
In Fruniturix, Huston shares his insights on furniture design processes, materials, and strategies for efficient production. His writing bridges the gap between artisan knowledge and modern industry needs, making it a must-read for both budding designers and seasoned professionals.


