

A dressing table stool is a practical and stylish piece of furniture that complements any vanity setup. Perfect for adding comfort and functionality, it can be customized to match your personal style and space. Whether you’re looking for a simple design or a more intricate creation, making your own dressing table stool allows you to craft something unique and tailored.
With some basic tools, materials, and guidance, you can create a stool that elevates your room’s decor while providing the comfort you need during your daily routine.
In this article on how to make dressing table stool, we’ll cover the basic steps and materials needed to create your own custom stool. A dressing table stool is an essential piece of furniture that combines comfort and style, providing a perfect spot for getting ready while complementing your vanity setup.
Why Make Your Own Dressing Table Stool?
There are several reasons why making your own dressing table stool is a great idea. Firstly, by making it yourself, you have complete control over the design and style of the stool. You can choose the materials, color scheme, and size to match your existing decor or create something completely unique.
Secondly, making your own stool allows you to add personal touches that reflect your individual taste and personality. This makes the stool not just a functional piece of furniture but also a statement piece in your room.
Lastly, creating your own dressing table stool can be more cost-effective compared to buying one from a store. By using materials and tools that you already have or sourcing affordable options, you can save money while still achieving a high-quality and customized piece.
6 Step-by-step Guidelines on How to Make Dressing Table Stool
Step 1: Gather Materials
To create your own dressing table stool, you will need the following materials:
- Solid Wood Board (Choose the Type of Wood Based on Your Preference and Budget)
- Wood Screws
- Wood Glue
- Foam Padding (for Cushioning)
- Fabric or Leather of Your Choice (for Covering the Cushion)
- Staple Gun
- Saw
- Drill
Step 2: Measure and Cut the Wood Board
Using a measuring tape, determine the dimensions required for your stool based on the desired height and width. Mark your measurements directly onto the wood board with a pencil for precision. Typically, you’ll need pieces for the seat, legs, and optional supports or braces.

Once marked, use a saw to cut the wood board carefully according to your measurements. Be sure to smooth any rough edges with sandpaper to ensure a clean and professional finish.
Step 3: Assemble the Stool
Place the cut pieces of wood on a flat surface and begin assembling the stool. Start by attaching the legs to the seat board using wood screws or nails. If desired, add additional supports or braces for added stability.
You can also choose to leave your stool unfinished for a rustic look or paint or stain it to match your home decor.
Step 4: Finishing Touches
Once assembled, give your stool a final sanding to ensure all edges are smooth. You can also use wood filler to fill in any gaps or imperfections for a seamless finish.
If you wish, you can also add cushions or padding to the seat for added comfort. This is especially helpful if you plan on using your stool for extended periods of time.
Don’t forget to add any personal touches, such as stenciling or engraving, to make your stool unique and personalized.
Step 5: Maintenance
To keep your DIY wooden stool in good condition, periodically check for any loose screws or nails and tighten as needed if you notice any wear or damage, sand down the affected area and reapply a coat of finish.
If you choose to leave your stool unfinished, periodically apply a coat of wood oil or wax to protect the wood and maintain its natural beauty.
With proper care, your DIY wooden stool can last for many years and become a functional piece of furniture that you can proudly say you made yourself.
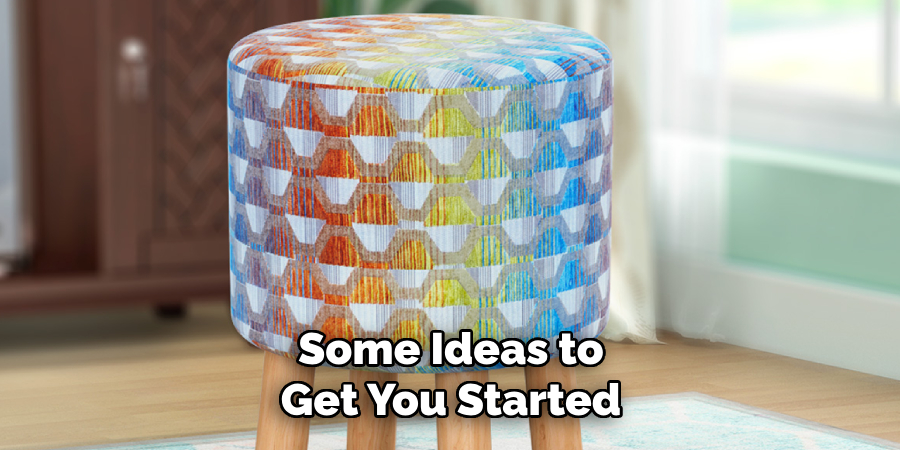
Step 6: Creative Customizations
While the basic structure of a wooden stool is simple, there are endless ways to customize and personalize it to suit your style. Here are some ideas to get you started:
- Paint or stain the stool in bold colors for a pop of color in your home.
- Use stencils or decals to add patterns or designs to the stool’s seat or legs.
- Add leather or fabric upholstery to the seat for a softer and more comfortable surface.
- Experiment with different types and grains of wood for a unique look.
- Attach hooks or shelves underneath the seat for added storage space.
Following these steps on how to make dressing table stool, you can create a personalized and stylish piece of furniture for your home. But don’t stop there – the possibilities are endless when it comes to DIY projects and home decor.
Do You Need to Hire a Professional?
When deciding whether to hire a professional for your furniture projects, it largely depends on your skills, resources, and the complexity of the design. If you’re confident in your woodworking abilities and have access to the necessary tools, creating a piece like a dressing table stool can be a rewarding DIY project.
However, if you’re working with intricate designs, specialty materials, or have limited experience, a professional furniture maker can ensure a polished and durable result.
Hiring a professional can save time and provide peace of mind, especially for those who want high-quality craftsmanship or specific customizations. Evaluate your needs and circumstances to make the best decision for your project.
How Long Does It Take to Make a Dressing Table Stool?
The time it takes to make a dressing table stool will vary depending on your skill level, the complexity of the design, and the materials used. If you are an experienced woodworker, it may take you only a few hours to complete the entire project. However, if you are new to DIY or working with wood, it may take a full day or even several days to finish.
Additionally, if you choose to add any extra elements such as upholstery or storage options, this can increase the overall time needed for completion.
It is important to factor in drying and curing times for any paint or stain used in the process. This can add an additional day or two to the project timeline.
Furthermore, it is crucial to have a well-ventilated workspace when working with wood and any chemicals such as paint or stain. Proper ventilation not only ensures the safety of the individual but also helps with the overall quality of the finished product.
Some other factors that can affect the time needed for a woodworking project include interruptions, mistakes, and unforeseen challenges. It is always best to set aside more time than you think you will need in case any issues arise.
Frequently Asked Questions
Q1: Can I Use Any Type of Wood for My Dressing Table Stool?
A: Yes, you can experiment with different types and grains of wood to create a unique look for your stool. It is recommended to use hardwoods such as oak, cherry, or maple for a sturdier and more durable stool.

Q2: Do I Need Special Tools or Skills to Make My Own Dressing Table Stool?
A: While having access to power tools can make the process easier and faster, you can still create a beautiful dressing table stool with simple hand tools like a saw, hammer, drill, and sandpaper. As for skills, this project requires basic woodworking knowledge and some patience.
Q3: Can I Customize the Size of My Dressing Table Stool?
A: Absolutely! One of the best things about making your own furniture is that you have full control over the size and design. You can adjust the measurements to fit your specific needs and preferences, whether you want a taller or shorter stool, a wider seat, or even extra shelves for storage. Just make sure to plan out your dimensions before starting the project to ensure everything fits together correctly.
Q4: What Type of Wood Should I Use?
A: The type of wood you use will depend on your personal preference and budget. Some popular options include pine, oak, maple, and birch.
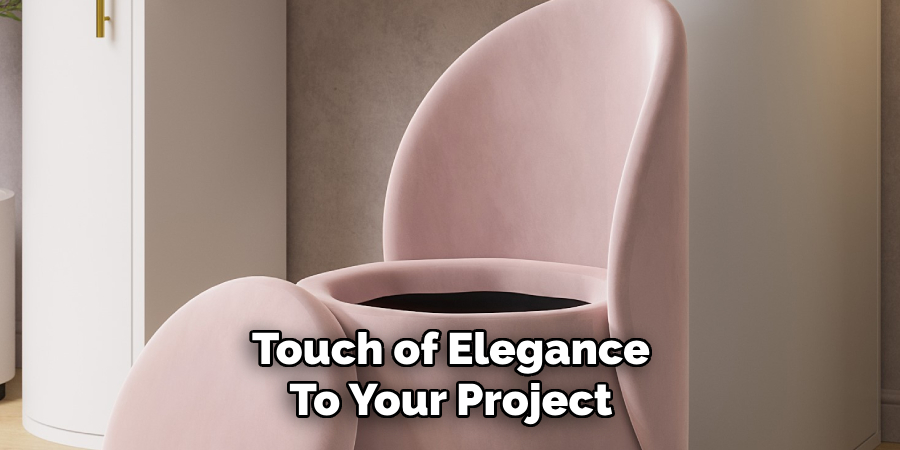
These woods are sturdy and easy to work with, making them great choices for beginners. However, if you’re feeling more adventurous and have some experience with woodworking, you could also try using exotic hardwoods like mahogany or cherry. These woods tend to be more expensive, but they offer unique colors and grain patterns that can add a touch of elegance to your project.
Conclusion
No matter which type of wood you choose, the most important part of any woodworking project is the enjoyment and creativity it brings. Carefully selecting the right material for your skill level and design goals will ensure a satisfying and rewarding experience.
Remember to take your time, follow safety precautions, and have fun bringing your ideas to life. With patience and practice, you’ll create pieces that are both functional and beautiful. Thanks for reading this article on how to make dressing table stool.
Huston Douthit is a distinguished figure in the world of furniture design, with a decade of expertise creating innovative and sustainable furniture solutions. His professional focus lies in merging traditional craftsmanship with modern manufacturing techniques, fostering designs that are both practical and environmentally conscious. As the author of Fruniturix, Huston delves into the art and science of furniture-making, inspiring artisans and industry professionals alike.
Education
- RMIT University (Melbourne, Australia)
Associate Degree in Design (Furniture)- Focus on sustainable design, industry-driven projects, and practical craftsmanship.
- Gained hands-on experience with traditional and digital manufacturing tools, such as CAD and CNC software.
- Nottingham Trent University (United Kingdom)
Bachelor’s in Furniture and Product Design (Honors)- Specialized in product design with a focus on blending creativity with production techniques.
- Participated in industry projects, working with companies like John Lewis and Vitsoe to gain real-world insights.
Publications and Impact
In Fruniturix, Huston shares his insights on furniture design processes, materials, and strategies for efficient production. His writing bridges the gap between artisan knowledge and modern industry needs, making it a must-read for both budding designers and seasoned professionals.