Adding a splash of color to your bedroom can be as simple as creating your own tie-dye bed sheets. This fun and creative project allows you to customize designs and bring vibrant, unique patterns into your space. With a few basic materials and some imagination, you can transform plain sheets into striking works of art. This guide explores the key aspects of how to tie dye bed sheets. Whether you’re going for bold contrasts or subtle pastel swirls, tie-dyeing is an accessible and rewarding activity for anyone looking to give their bedding a personal touch.
Importance of Using the Right Materials
Choosing the right materials is crucial for achieving the best results when tie-dyeing your bed sheets. The type of fabric you use will influence how well the dye adheres and how vibrant the colors appear. Natural fibers like cotton, linen, or bamboo are ideal because they absorb dye more effectively, ensuring long-lasting and bright designs. Additionally, high-quality dyes specifically made for fabric will help prevent fading over time and maintain the rich colors you worked hard to create. Using proper tools, such as rubber bands for securing patterns and protective gloves to handle the dye, ensures both safety and precision in your project. Starting with the right materials sets the foundation for a successful and satisfying tie-dye experience.
10 Methods How to Tie Dye Bed Sheets
1. Choose the Right Fabric
The first step in tie-dyeing bed sheets is selecting the appropriate fabric. Natural fibers like cotton, linen, or bamboo absorb dye best and produce vibrant colors. Check the sheet’s label to confirm its composition. Pre-wash the sheets with a mild detergent to remove any manufacturing residues or softeners that could prevent the dye from adhering evenly.
2. Gather Supplies and Set Up Your Workspace
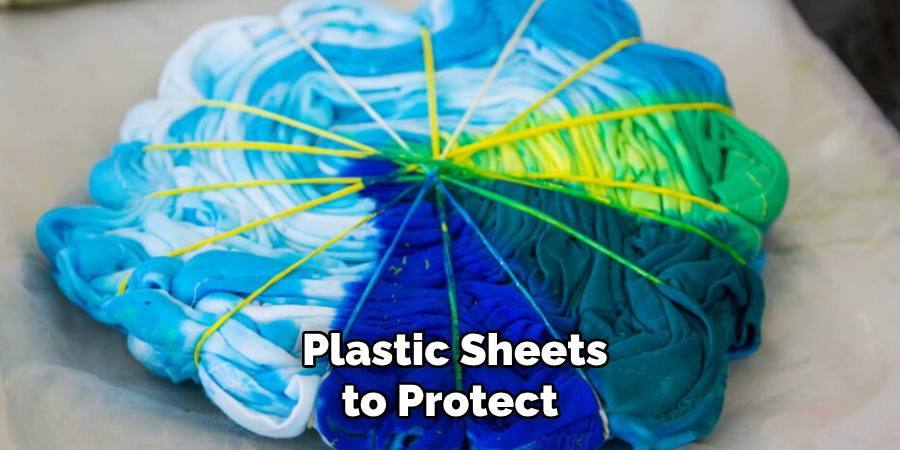
Prepare all the materials you’ll need, including fabric dye, rubber bands, squeeze bottles, gloves, and plastic sheets to protect your workspace. Work in a well-ventilated area, preferably outdoors or in a space with easy-to-clean surfaces. Organize your supplies for easy access to avoid disruptions during the dyeing process.
3. Prepare the Dye Solution
Follow the instructions on your dye package to prepare the solution. Use warm water to dissolve powdered dyes completely and ensure consistent color application. For liquid dyes, mix the recommended amount with water and add salt or soda ash as needed to enhance color retention. Pour the dye into squeeze bottles for controlled application.
4. Fold and Secure the Sheets
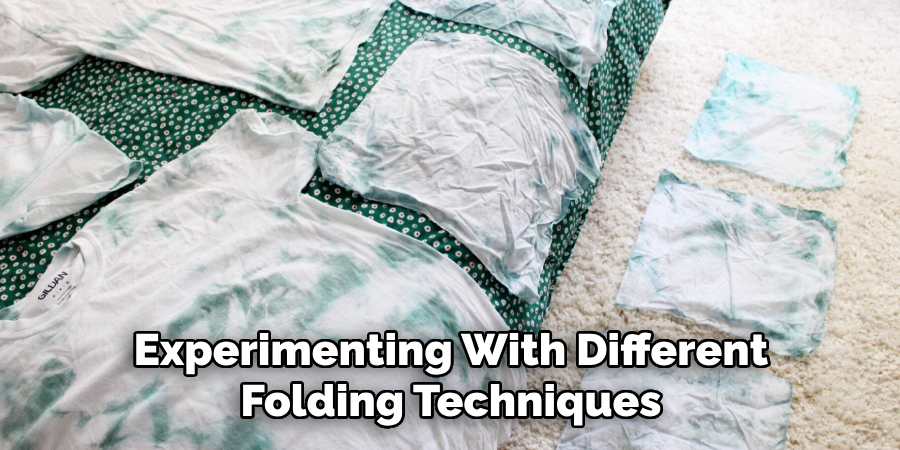
Choose a folding technique to create your desired pattern. Popular methods include spiral, accordion, bullseye, and crumple designs. After folding, secure the fabric tightly with rubber bands or string. The tighter the binding, the more defined your pattern will be. Experiment with different techniques to achieve unique designs.
5. Apply the Dye
Wearing gloves, apply the dye to the fabric using the squeeze bottles. For a multicolored effect, apply different colors to each section. Ensure the dye penetrates both sides of the fabric for even coverage. Avoid oversaturating the fabric, as this can cause colors to bleed into each other and muddy the design.
6. Let the Dye Set
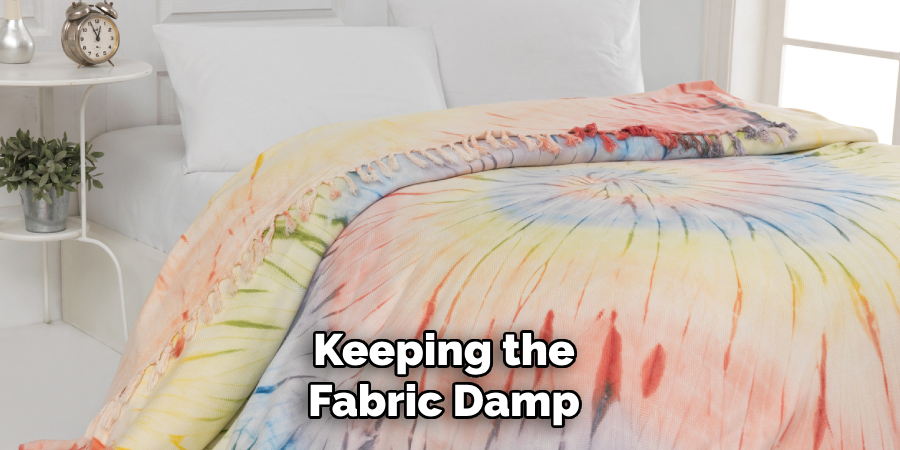
After applying the dye, place the sheets in a sealed plastic bag or wrap them in plastic wrap to keep them moist. Allow the dye to set for at least 6-8 hours or overnight for more vibrant results. Keeping the fabric damp ensures the dye bonds fully with the fibers.
7. Rinse the Sheets Thoroughly
Once the dye has set, remove the rubber bands or string and rinse the sheets under cold running water. Continue rinsing until the water runs clear to remove excess dye. Start with cold water to prevent colors from bleeding, then gradually switch to warm water to ensure all residual dye is washed out.
8. Wash and Dry the Sheets
Wash the dyed sheets separately in a washing machine using a gentle cycle and mild detergent. Avoid using fabric softeners, as they can interfere with the dye’s vibrancy. Dry the sheets in a tumble dryer on a low setting or hang them to air dry. Proper washing and drying help set the colors and prevent fading.
9. Enhance the Design with Additional Techniques
For a more intricate look, consider layering your tie-dye patterns. Once the first layer has dried, refold the sheets using a different technique and apply a new set of colors. You can also use resist techniques, such as tying small objects into the fabric, to create unique shapes and designs.
10. Maintain Your Tie-Dye Sheets
To preserve the vibrant colors and patterns, wash the tie-dye sheets separately for the first few washes. Use cold water and a gentle detergent to prevent fading. Avoid prolonged exposure to direct sunlight, as it can weaken the fabric and cause colors to fade over time. Regular care ensures your tie-dye sheets remain bright and beautiful.
Maintenance and Upkeep
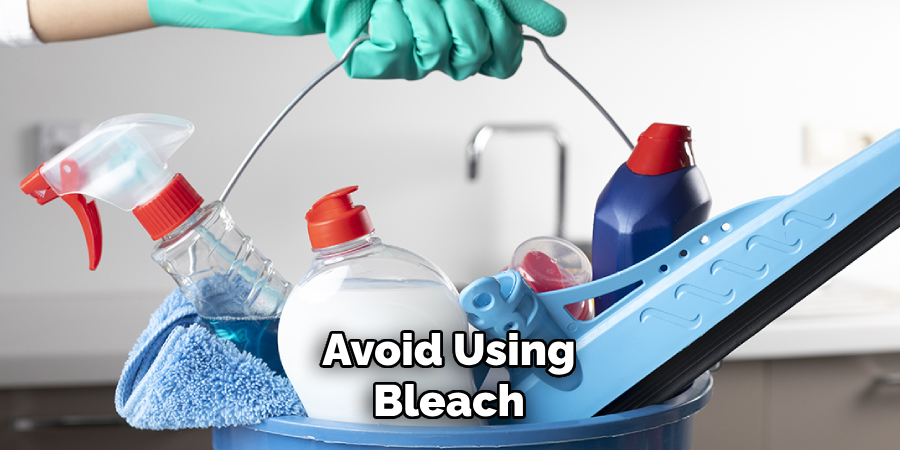
Proper maintenance of your tie-dye bed sheets is essential to keep them looking vibrant and fresh over time. Start by washing the sheets separately during the first few washes to prevent any residual dye from bleeding onto other fabrics. Always use cold water and a gentle, color-safe detergent to protect the colors and prevent fading. Avoid using bleach or harsh chemicals, as they can damage both the fabric and the dye.
Additionally, air drying is recommended whenever possible, as it minimizes wear and tear compared to tumble drying. If you must use a dryer, choose a low heat setting to preserve the fabric’s integrity. Store your tie-dye sheets in a cool, dry place, away from direct sunlight or moisture, to prevent discoloration and mildew. Following these steps will ensure your tie-dye creation remains a lively centerpiece of your bedroom for years to come.
Troubleshooting Common Issues
Even with careful preparation, you may encounter some challenges during the tie-dye process. Here are some common issues and ways to address them:
1. Colors Fading Too Quickly
If your tie-dye colors fade after a few washes, it could be due to improper dye setting. Ensure you use soda ash or a similar fixative to help the dye bond with the fabric. Additionally, avoid washing the sheets in hot water or using detergents with harsh chemicals, as they can strip the dye.
2. Uneven Dye Coverage
Uneven patterns or splotchy colors may result from insufficiently prewashed sheets or improper fabric folding. Always wash the sheets beforehand to remove any residue, and fold the fabric tightly and securely before applying the dye. Make sure the dye fully saturates the fabric, especially in thick folds, to achieve consistent coverage.
3. Colors Bleeding Into Each Other
Bleeding occurs when the fabric is oversaturated with dye or if the colors are applied too closely. To prevent this, use small amounts of dye and leave some space between colors, especially when working with contrasting hues. Keep the tied sections tight with rubber bands to limit color migration.
4. Patterns Not Showing Clearly
Vague or undefined patterns can happen if the rubber bands or string are too loose. For sharp and distinct designs, ensure the fabric is tightly secured. Experimenting with different folding techniques and bindings can also help achieve clearer patterns.
5. Fabric Not Absorbing Dye
If the dye appears to sit on the surface of the sheets, they may not be a suitable material for tie-dying. Check the fabric composition on the label — natural fibers like cotton absorb dye better than synthetic ones. If using synthetic blends, consider using dyes specially formulated for those fabrics.
6. Stains on Fabric After Rinsing
Stains may form if excess dye isn’t removed during the initial rinse. Rinse the sheets thoroughly with cold water immediately after the dye sets. Take extra care to ensure all unabsorbed dye is washed out before washing the sheets in the machine.
Safety Considerations
When working with tie-dye, it is important to prioritize safety to ensure a positive and hazard-free experience. Start by wearing protective gloves to prevent the dye from staining your hands and causing skin irritation. If you have sensitive skin, consider using long sleeves and an apron to shield your clothing and skin from accidental splashes. Work in a well-ventilated area, particularly when handling powdered dyes or soda ash, as inhaling these particles can be harmful. Consider wearing a mask to minimize inhalation risks.
Always read the manufacturer’s instructions on the dye packaging to understand specific safety recommendations and disposal guidelines. Keep all tie-dye materials, including dyes and rubber bands, out of reach of children and pets. Clean up spills immediately to avoid staining surfaces and use disposable or designated tools that won’t be reused for food. Proper handling and preparation will ensure a safe and enjoyable tie-dye process for all involved.
Conclusion
Tie-dyeing bed sheets is a rewarding and enjoyable process that allows you to showcase your creativity. By following these ten methods, you can achieve professional-quality results and create one-of-a-kind bedding that brightens your space. With proper care, your tie-dye sheets will remain a colorful addition to your home for years to come. Thanks for reading, and we hope this has given you some inspiration on how to tie dye bed sheets!
Huston Douthit is a furniture expert with a decade of experience in design, craftsmanship, and furniture history. Known for his eye for detail and passion for quality, Huston has worked across various fields, including interior design consulting, furniture restoration, and retail. His expertise spans modern trends like mid-century and Scandinavian styles, as well as custom, bespoke designs.