

Assembling wooden bunk beds can be an exciting yet daunting task, especially if you’re not familiar with the process. Whether you’re setting up a new sleeping arrangement for your children’s bedroom or outfitting a vacation cabin, properly assembling bunk beds is essential for safety and stability. With the right tools, preparation, and step-by-step guidance for how to assemble wooden bunk beds, assembling wooden bunk beds can be a straightforward and rewarding DIY project.
In this article, we’ll explore the process of assembling wooden bunk beds in detail, covering everything from unpacking the components to securing the bed frames and attaching safety rails. By following these instructions and taking your time to ensure each step is completed correctly, you’ll be able to assemble your wooden bunk beds with confidence and create a cozy and functional sleeping space for your family or guests.
Importance of Proper Assembly of Bunk Beds
The proper assembly of bunk beds is paramount, not only for the structure’s longevity but most importantly, for the safety of its users. Given that bunk beds are often used in children’s bedrooms, ensuring that every component is securely fastened and correctly positioned is vital to prevent accidents such as falls or collapses.
A well-assembled bunk bed provides a stable and secure sleeping environment, giving parents peace of mind and reducing the risk of potential injuries. Additionally, proper assembly ensures that the bunk beds are used to their full lifespan, avoiding the need for premature repairs or replacements due to improper setup.
Benefits of Wooden Bunk Beds
Wooden bunk beds offer several benefits that make them a popular choice for many families. Firstly, they boast a timeless aesthetic that can easily blend with various decor styles, from traditional to modern. The natural warmth and beauty of wood can add a cozy and inviting element to any bedroom. Additionally, wood is known for its durability and strength, making wooden bunk beds a solid and long-lasting investment.
They can withstand the wear and tear of everyday use, including the energetic play of children. Furthermore, wooden bunk beds often come in a variety of finishes, allowing for customization to match specific room themes or color schemes. Lastly, they provide a practical solution for saving space in smaller rooms, enabling two sleeping areas while only using the floor space of one bed. This aspect is particularly beneficial in shared bedrooms or for accommodating guests in holiday homes or cabins.

Gather Tools and Equipment
Before starting the assembly process, it’s crucial to gather all necessary tools and equipment to ensure a smooth and efficient assembly. Typically, the following tools are required:
- Phillips-head Screwdriver: This is essential for tightening screws and bolts that hold the various components together.
- Allen Wrench (Hex key): Some bunk bed models use bolts that require an Allen wrench for assembly.
- Rubber Mallet: A rubber mallet can be helpful to gently tap pieces into place without damaging the wood.
- Measuring Tape: To ensure all parts fit exactly as intended and maintain even spacing.
- Level: A level ensures that the bed is perfectly horizontal, which is critical for safety and comfort.
In addition to these tools, it’s also important to have the assembly instructions handy, ideally laid out where you can easily refer to them throughout the process. Check the parts list included in the manufacturer’s instructions to confirm you have all necessary components before starting. Missing or damaged parts can cause delays, so it’s best to identify any issues early on.
Clear the Assembly Area
Before commencing the assembly of your wooden bunk beds, it is crucial to prepare a spacious and clean assembly area. This space should be large enough to accommodate all parts of the bunk bed laid out flat, as well as provide ample room for moving around and working comfortably.
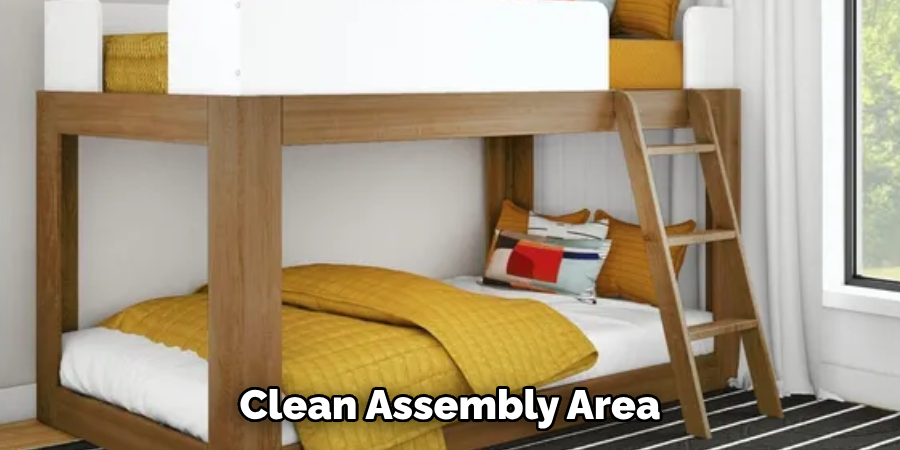
Start by removing any furniture, rugs, or other items that could obstruct the assembly process or potentially get damaged. It’s also advisable to assemble the bunk bed in the room where it will ultimately reside to avoid the need to move the entire structure once assembled. Ensuring the assembly area is free of clutter not only makes the process smoother but also helps in preventing accidents or damage to the bunk bed components.
Review the Assembly Instructions
Once you have prepared your assembly area and gathered all the necessary tools, the next critical step is to thoroughly review the assembly instructions provided by the manufacturer. These instructions are your roadmap for a successful assembly process and should not be overlooked. Begin by reading through the entire set of instructions from start to finish before starting any actual assembly work. This initial overview will help you understand the overall process, from which parts you’ll need to start with to how the final product should look.
Pay close attention to any warnings or tips provided in the instructions, as these can offer valuable insight into common pitfalls or steps where extra care is needed. Additionally, familiarize yourself with the parts and hardware inventory usually listed at the beginning of the instructions. Confirm again that you have all the necessary pieces as indicated. Understanding and following the assembly instructions carefully can significantly impact the ease of assembly and the quality of the final product.
10 Methods How to Assemble Wooden Bunk Beds
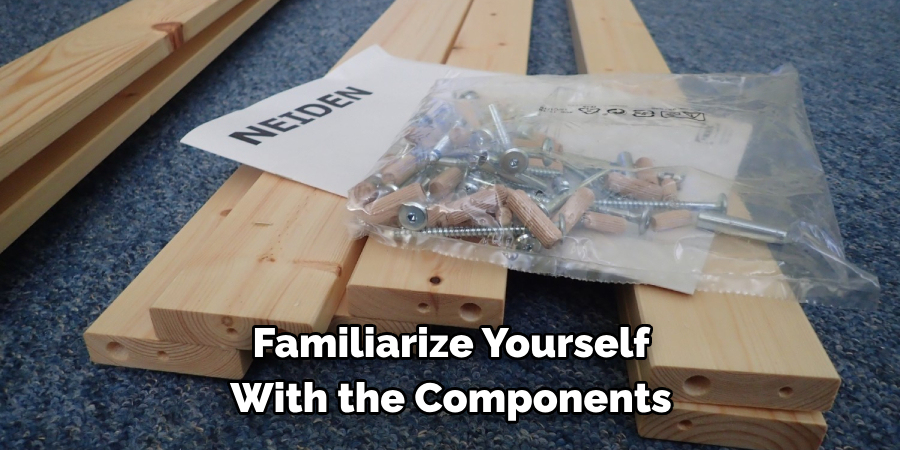
1.Read the Instructions:
Before you begin assembling the bunk beds, carefully read the manufacturer’s instructions provided with the bed. Familiarize yourself with the components, hardware, and any specific steps or precautions outlined in the manual.
It is important to thoroughly read and understand the instructions before starting any task, especially when it comes to assembling furniture. This ensures that you have a clear understanding of the process and can avoid making mistakes.

In addition to reading the instructions, it is also recommended to lay out all the components and hardware in an organized manner. This will make it easier for you to locate the necessary items and follow the instructions accurately.
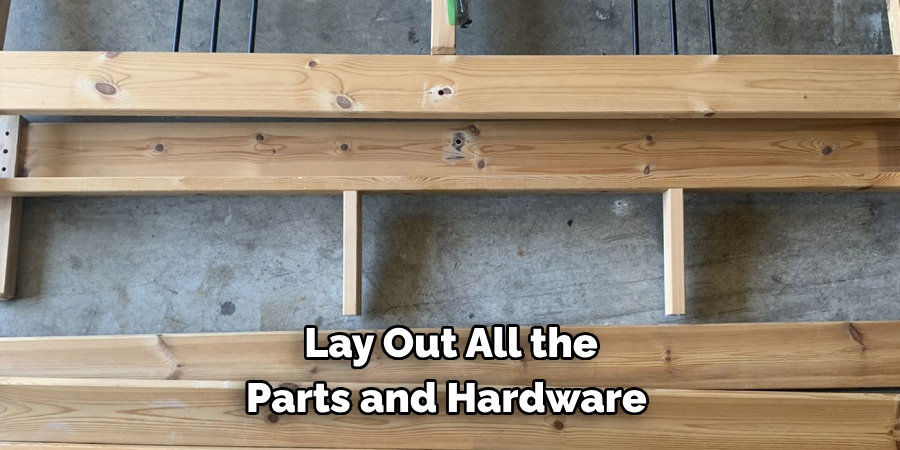
2.Organize the Parts:
Lay out all the parts and hardware in a clear, well-lit area, grouping similar items together. This will make it easier to identify and access the components as you progress through the assembly process. Consider using small containers or bags to separate and organize the smaller pieces, such as screws, nuts, and bolts. Labeling these containers can also be helpful.
Once everything is laid out and organized, start by familiarizing yourself with the instruction manual or assembly guide. Read through it carefully before beginning any physical work. This will help you understand the project as a whole and ensure that you don’t miss any important steps.
Next, identify the different sections or stages of assembly and group the corresponding parts together. For example, if the project has multiple levels or tiers, group all the parts for each level together. This will help prevent confusion and ensure that you are using the correct components at each stage.
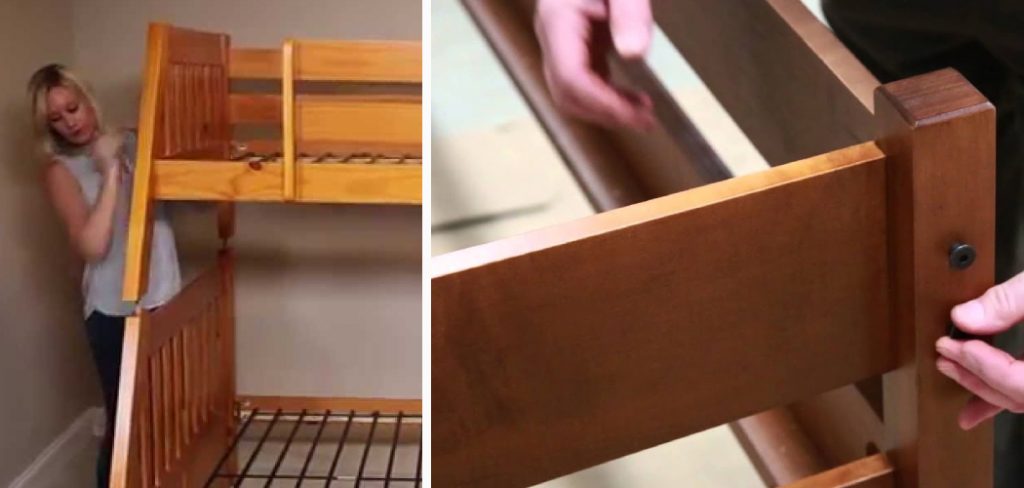
3.Assemble the Headboards and Footboards:
Start by assembling the headboards and footboards of the bunk beds according to the manufacturer’s instructions. Attach the side rails and support slats using the provided screws, bolts, or dowels, ensuring that all connections are tight and secure.
Once the headboards and footboards are assembled, you can then attach them to the bed frame. This may involve attaching metal brackets or using pre-drilled holes in the frame to secure the headboards and footboards in place. Again, be sure to follow the manufacturer’s instructions carefully to ensure proper assembly.
Next, install the ladder if it is not already attached. This may involve screwing the ladder into place or using hooks to attach it securely. It is important to make sure the ladder is sturdy and can support the weight of whoever will be using it.
4.Attach the Side Rails:
Once the headboards and footboards are assembled, attach the side rails to each end of the bed frame. Use the designated attachment points and hardware specified in the instructions, and double-check that the rails are aligned and level.
It is important to ensure that the side rails are securely attached to the headboards and footboard, as they provide the main support for the weight of the mattress and sleeper(s). If not attached properly, this could lead to an unstable and potentially dangerous bed frame.
To further ensure stability, it is recommended to use additional braces or center supports in between the side rails. These can be purchased separately or may come with the bed frame kit. Follow the instructions carefully to properly install these additional supports.
It is also important to periodically check and tighten any loose hardware on the side rails, as constant use can cause them to become loose over time. This will help maintain the stability of the bed frame and prevent potential accidents.
5.Install the Mattress Support Slats:
Place the mattress support slats across the bed frame, spacing them evenly to provide adequate support for the mattresses. Depending on the design of the bunk beds, the slats may rest on ledges or be secured with screws or clips. Once the slats are in place, test them by applying pressure to ensure they can support the weight of the mattresses and sleepers.
Once you have installed the mattress support slats, it is important to regularly check and maintain them. Over time, as mattresses and sleepers put weight and pressure on the slats, they may shift or become loose. This can lead to uneven support and potential discomfort or even injury.
To maintain the slats, periodically check for any loose or shifted slats and tighten or reposition them as needed. You may also want to rotate the slats every few months to evenly distribute weight and prolong their lifespan.
6.Secure the Ladder:
If your bunk beds include an attached ladder for accessing the upper bunk, install it according to the manufacturer’s instructions. Position the ladder securely against the bed frame and ensure that it is stable and safe to use. If the ladder seems wobbly or insecure, tighten any bolts or screws and make sure all parts are properly connected.
Additionally, consider adding non-slip material to the steps of the ladder for added safety. This can help prevent slips and falls when climbing up or down the ladder. You may also want to add handrails on both sides of the ladder for extra support and stability.
Furthermore, make sure to regularly check the ladder for any signs of wear and tear. Over time, the ladder may become loose or damaged, making it unsafe to use. If you notice any issues, repair or replace the ladder immediately.
7.Attach Safety Rails and Guardrails:
Install the safety rails and guardrails on the upper bunk to prevent accidental falls. Follow the instructions provided to secure the rails to the bed frame using the appropriate hardware, ensuring that they are positioned at the correct height and securely attached. It is important to regularly check the rails and guardrails for any loose or damaged parts, and make any necessary repairs or replacements.
Additionally, consider adding a ladder or steps to make it easier for children to climb up and down from the upper bunk. Make sure that the ladder or steps are sturdy and securely attached to both bunks. Remind children to always use the ladder or steps to prevent injuries.
Furthermore, it is important to discuss safety rules with children before allowing them to use the bunk bed. These rules may include not jumping on the beds, no playing on the top bunk, and not placing any heavy objects or toys near the edge of the bed.
8.Tighten All Hardware:
Once the bunk beds are fully assembled, go back and double-check that all hardware, including screws, bolts, and nuts, is properly tightened. Use a wrench or screwdriver to tighten any loose connections and ensure that the bed frame is stable and secure. This step is crucial for the safety and durability of the bunk bed.
It’s important to periodically check and tighten all hardware on bunk beds, especially if they are used frequently. Over time, constant use can cause screws and bolts to loosen, potentially making the bed unstable. Tightening the hardware not only ensures safety, but it also helps to maintain the structural integrity of the bed.
Furthermore, if any hardware is missing or damaged, it’s important to replace it immediately. Never use a bunk bed with missing or broken hardware as it can compromise the safety of the structure. Keep an eye out for signs of wear and tear on the hardware, such as rust or stripped screws, and replace them as needed.

9.Test the Stability:
After assembly is complete, test the stability and safety of the bunk beds by gently shaking and rocking them from various angles. The beds should feel sturdy and secure, with no wobbling or shifting of the frame. You should also test the ladders and guardrails, making sure they are securely attached and can support weight without bending or breaking.
It is important to perform this stability test before allowing anyone to sleep on the bunk beds. This will ensure that they are safe for use and prevent any accidents or injuries. If you notice any instability or safety concerns during the testing process, do not use the bunk beds and make necessary adjustments or repairs before allowing them to be used.
Additionally, it is important to regularly check and test the stability of bunk beds, especially if they are being used on a daily basis. Over time, wear and tear can affect the sturdiness of the bed frame and other components. By performing routine stability tests, you can ensure the safety of anyone using the bunk beds.
10.Inspect for Safety Hazards:
Before allowing anyone to use the bunk beds, thoroughly inspect them for any potential safety hazards or sharp edges. Check for loose hardware, protruding screws, or other issues that could pose a risk of injury, and address them promptly. Additionally, make sure the bunk beds have sturdy guardrails on all sides to prevent falls.
If any issues are found during the inspection, do not allow anyone to use the bunk beds until they have been properly fixed or replaced. Safety is always the top priority when it comes to bunk beds, so it’s important to take these precautions seriously.
Conclusion
In conclusion, assembling wooden bunk beds is a rewarding process that requires careful attention to detail and adherence to safety guidelines. By following the step-by-step instructions provided in this guide, individuals can confidently construct a sturdy and functional sleeping solution for their household. From preparing the assembly area to familiarizing with components and following safety considerations, each step plays a crucial role in ensuring the stability and integrity of the bunk beds.
Regular testing and adjustment throughout the assembly process help to identify and address any potential issues, ultimately contributing to a safer sleeping environment. Hopefully, this article gave you some helpful tips about how to assemble wooden bunk beds successfully, so now that you have the proper knowledge on how to get the job done, why not give it a try today?
Huston Douthit is a distinguished figure in the world of furniture design, with a decade of expertise creating innovative and sustainable furniture solutions. His professional focus lies in merging traditional craftsmanship with modern manufacturing techniques, fostering designs that are both practical and environmentally conscious. As the author of Fruniturix, Huston delves into the art and science of furniture-making, inspiring artisans and industry professionals alike.
Education
- RMIT University (Melbourne, Australia)
Associate Degree in Design (Furniture)- Focus on sustainable design, industry-driven projects, and practical craftsmanship.
- Gained hands-on experience with traditional and digital manufacturing tools, such as CAD and CNC software.
- Nottingham Trent University (United Kingdom)
Bachelor’s in Furniture and Product Design (Honors)- Specialized in product design with a focus on blending creativity with production techniques.
- Participated in industry projects, working with companies like John Lewis and Vitsoe to gain real-world insights.
Publications and Impact
In Fruniturix, Huston shares his insights on furniture design processes, materials, and strategies for efficient production. His writing bridges the gap between artisan knowledge and modern industry needs, making it a must-read for both budding designers and seasoned professionals.